How To Use Flux With A Soldering Iron: Easy Guide
Soldering without flux is the primary reason why solder beads up, rolls off metal surfaces, or creates weak, dull connections. Flux is a chemical cleaning agent that prepares metal surfaces, removes oxidation, and allows molten solder to flow smoothly over the joint.
Learning how to use flux with a soldering iron is one of the most effective ways to improve your soldering joints, whether you are repairing electronic circuit boards, splicing copper wires, or joining stained glass.
Why You Need Flux When Soldering
To understand how to use flux, it helps to understand why it is necessary. When metals are exposed to air, they react with oxygen to form a thin layer of oxidation. This oxide layer acts as a barrier that prevents molten solder from bonding with the metal beneath it.
When you apply heat with a soldering iron, this oxidation process accelerates rapidly. Flux solves this problem through several actions:
- Removing Oxidation: The heat from your soldering iron activates the chemicals in the flux, which dissolve the oxide layer on the target metal.
- Preventing New Oxidation: The liquid flux forms a protective barrier over the hot metal, keeping oxygen away while you apply the solder.
- Improving Heat Transfer: Liquid flux helps bridge the gap between the soldering iron tip and the work surface, allowing heat to transfer more efficiently.
- Reducing Surface Tension: Flux lowers the surface tension of molten solder, allowing it to flow and “wet” the metal surfaces instead of pooling into a ball.
Selecting the Correct Flux for Your Project
Using the wrong type of flux can ruin your project. Flux formulations range from highly corrosive acids used for plumbing to mild organic resins designed for delicate electronics.
The three primary categories of flux are detailed below:
| Flux Type | Typical Applications | Corrosiveness | Post-Solder Cleaning |
|---|---|---|---|
| Rosin Flux (R, RMA, RA) | Electronics, delicate wiring, PCBs | Very low | Recommended (use isopropyl alcohol) |
| Water-Soluble (Organic Acid) | Production electronics, wiring | Moderate | Mandatory (use warm water or specialized wash) |
| Acid Core / Inorganic Acid | Plumbing, copper pipes, sheet metal | Extremely high | Mandatory (must neutralize and wash thoroughly) |
Warning: Never use acid-core or plumbing flux on electronics. The highly corrosive acid will quickly eat away thin copper circuit board traces and delicate wires, destroying the device.
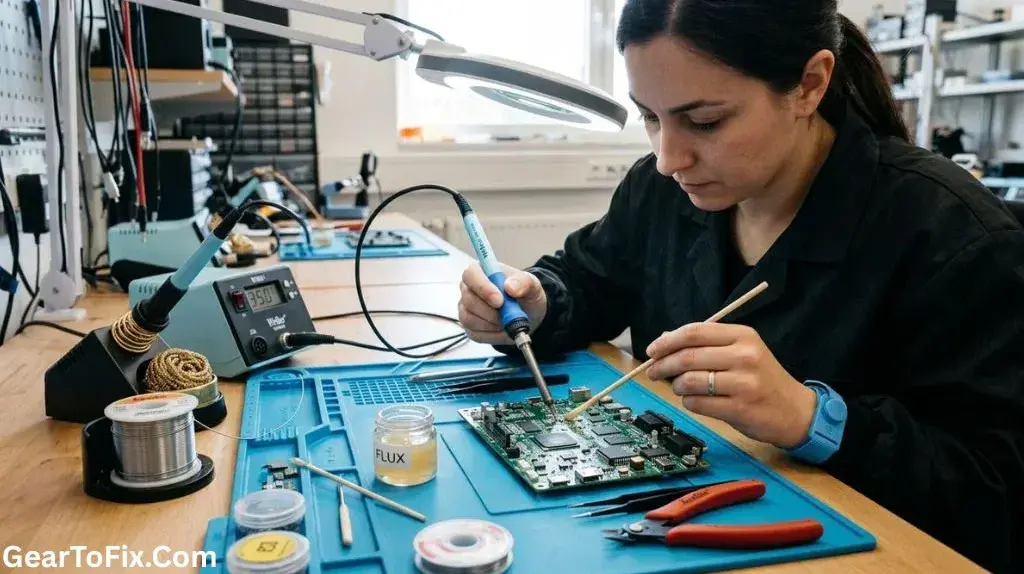
How to Use Flux With a Soldering Iron: Step-by-Step
Using flux is a straightforward process, but timing and cleanliness are critical to achieving a solid, reliable joint.
Step 1: Gather Your Tools and Materials
Ensure you have the following items ready before you begin:
- A soldering iron with a clean tip
- Solder (rosin-core solder is standard, but external flux is still helpful)
- The appropriate flux (paste, liquid, or pen)
- An applicator (such as a small brush, toothpick, or flux pen)
- Isopropyl alcohol (90% or higher concentration)
- A small brush or cotton swabs for cleaning
- Safety glasses and adequate ventilation
Step 2: Clean the Metal Surfaces
Flux removes oxidation, but it cannot cut through heavy grease, dirt, or thick corrosion. Clean the wires or metal pads with a fine abrasive pad, a brass brush, or isopropyl alcohol before applying the flux.
Step 3: Apply a Thin Layer of Flux
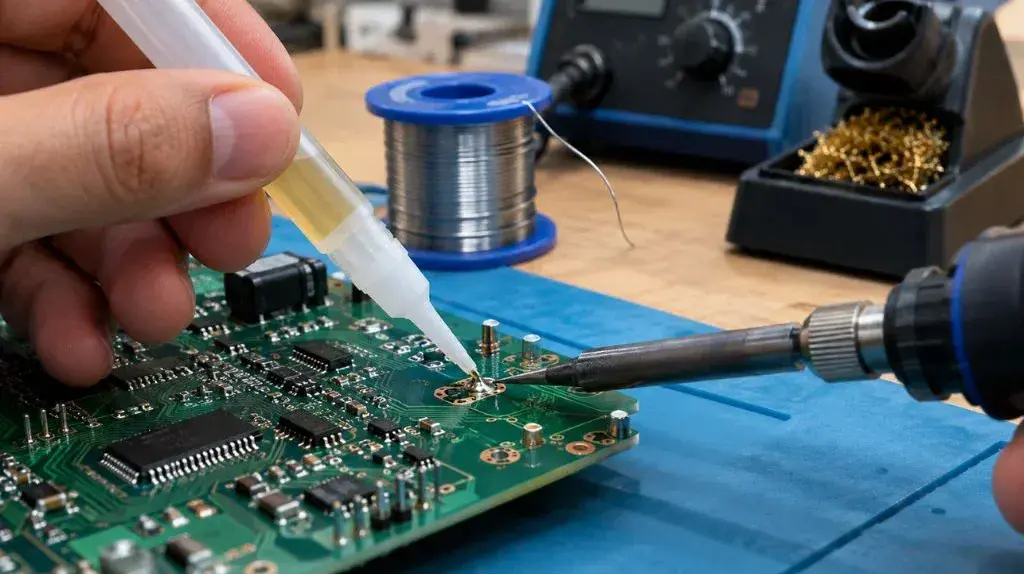
Use a brush, toothpick, or flux pen to apply a small, even layer of flux directly to the areas you intend to solder.
- If you are splicing wires, twist them together first, then brush the flux over the splice.
- If you are working on a circuit board, apply a tiny drop of liquid flux or a thin smear of paste to the pad and component lead.
- Avoid using too much flux, as excess paste will bubble, spit, and leave a sticky residue across your workspace.
Step 4: Heat the Joint
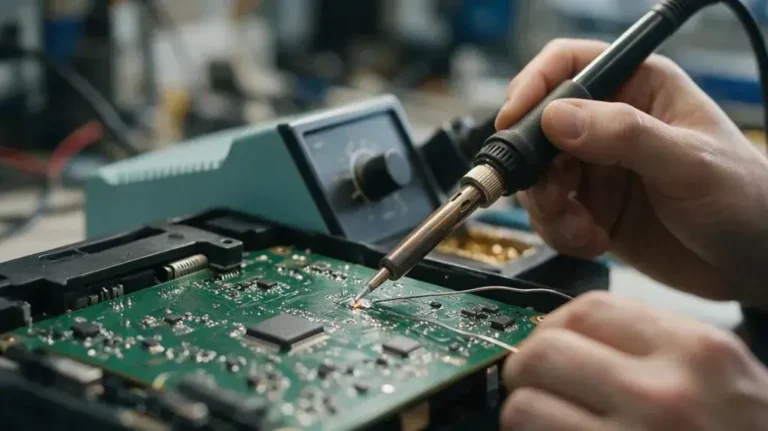
Place the hot, tinned tip of your soldering iron against the metal joint, making contact with both parts (such as the wire and the terminal pad). The heat will activate the flux, causing it to liquefy and flow into the gaps of the joint, stripping away any remaining oxides.
Step 5: Feed the Solder
Touch the solder wire directly to the heated joint, not to the soldering iron tip itself. The molten solder should flow smoothly toward the heat source, drawn in by the active flux. Once the solder has covered the joint, remove the solder wire first, then the soldering iron.
Step 6: Let It Cool and Clean the Residue
Allow the joint to cool completely without moving any of the parts. Once cooled, use a cotton swab or a small brush dipped in isopropyl alcohol to scrub away any remaining flux residue. Wipe the area dry with a lint-free cloth.
Common Mistakes to Avoid
Even experienced DIYers can run into trouble if they do not manage their flux properly. Keep these common mistakes in mind:
- Dipping the Iron Directly Into Paste Flux: Do not dip the hot tip of your soldering iron directly into a jar of paste flux. The rapid thermal shock can damage the plating on your iron tip, and the heat will degrade the remaining flux inside the jar.
- Using Too Much Flux: Excessive flux turns into a sticky, messy puddle when heated. It can migrate into switches, connectors, or under components, potentially causing electrical faults or gathering dirt.
- Leaving Acid Flux Uncleaned: If you are working on plumbing or non-electronic projects that require acid-based flux, you must neutralize and wash away the residue immediately. Leaving it on the metal will lead to rapid green corrosion that weakens the joint.
- Relying Only on the Solder’s Inner Core: While rosin-core solder contains a small amount of flux inside the wire, it is often not enough for older, oxidized wires or larger joints. Adding external flux guarantees a faster, cleaner bond.
Safety Measures When Working with Flux
Soldering with flux requires a few basic safety habits to protect your health and your workspace.
- Work in a Well-Ventilated Area: Heating flux produces fumes that can irritate your eyes, throat, and lungs. Always use a desktop fume extractor, work near an open window, or use a fan to blow the fumes away from your face.
- Wear Eye Protection: Heated flux can bubble and spit hot liquid. Always wear safety glasses to prevent hot solder or flux from splattering into your eyes.
- Wash Your Hands: Many flux pastes contain chemical irritants, and many solders still contain lead. Wash your hands thoroughly with soap and water after completing your work.
Frequently Asked Questions Of How To Use Flux With A Soldering Iron
1. What does flux do when soldering?
Flux helps remove surface oxides and improves solder wetting, allowing molten solder to flow more easily across the metal surfaces.
2. Where should I apply flux when soldering?
Apply a small amount directly to the joint, pad, component lead, or wire surface that needs improved solder flow.
3. How much flux should I use?
Use only enough to lightly cover the area being soldered. Excessive flux is usually unnecessary and can make cleanup more difficult.
4. Can I apply flux directly to a hot soldering iron tip?
Flux can be used for tip maintenance, but it should generally be applied appropriately to the soldering area or tip according to the flux manufacturer’s instructions.
5. Do I need to clean flux after soldering?
It depends on the flux type. No-clean flux may require little or no cleaning, while some water-soluble or activated fluxes should be removed after soldering.
6. Can flux help solder stick to oxidized metal?
Yes. Flux can help remove surface oxides and improve wetting, making it easier for solder to bond to surfaces that are difficult to solder.
Conclusion
Understanding how to use flux with a soldering iron turns a frustrating DIY project into a smooth, professional task. By selecting the correct type of flux, applying a thin and targeted layer, heating the joint properly, and cleaning up the residue afterward, you will produce clean, shiny, and structurally sound solder joints that last.

Scott Yarnell is a tool expert focused on practical guides, product research, and real-world tool performance to help readers make informed decisions.