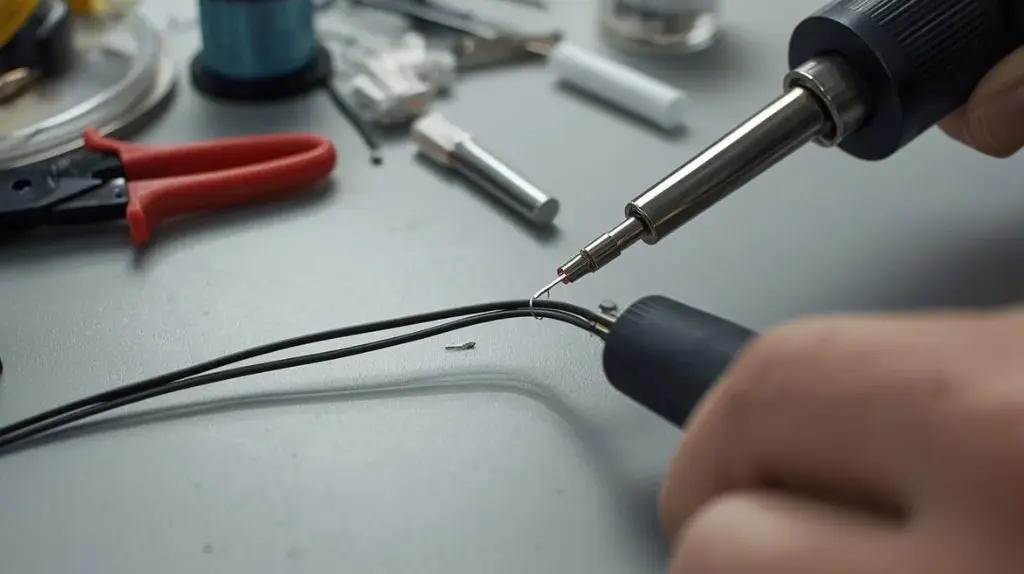
How To Solder Wires With A Soldering Iron: Easy Guide
To solder wires with a soldering iron, strip and prepare the wires, slide heat-shrink tubing into place, tin the conductors, heat the joint, and allow solder to flow through the connection. A strong soldered joint should be mechanically secure, electrically connected, and covered with insulation to prevent short circuits.
The process is useful for repairing cables, joining stranded wires, extending leads, and building low-voltage electronic connections. Good preparation matters more than adding a large amount of solder. The wire surfaces must be clean, the iron must be hot enough to transfer heat efficiently, and the joint must remain still while it cools.
Tools and Materials You Need
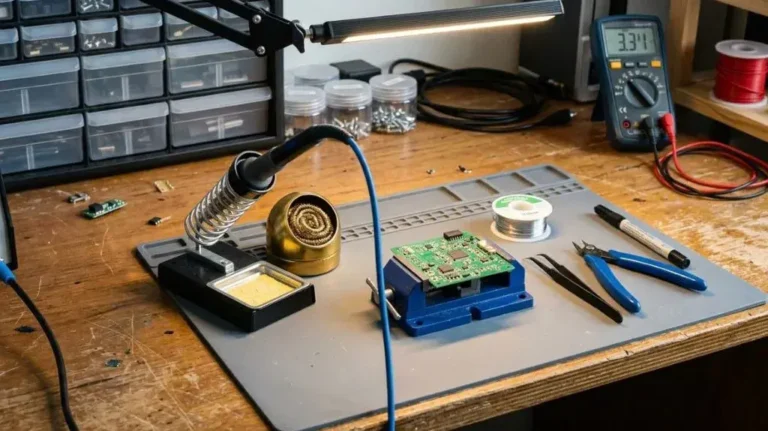
Gather the following before heating the soldering iron:
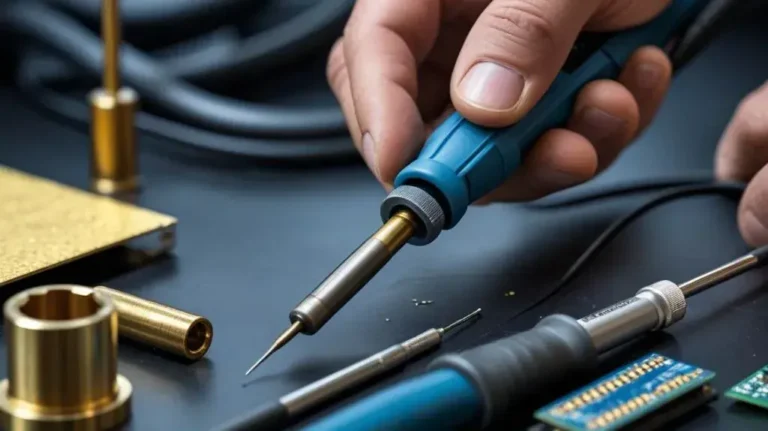
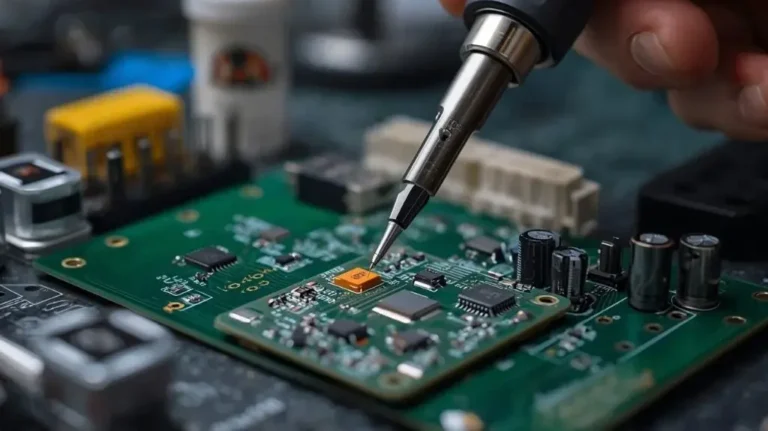
- Soldering iron with a clean, suitable tip
- Electrical solder, preferably rosin-core solder intended for electronics
- Wire strippers
- Side cutters
- Heat-shrink tubing or suitable electrical insulation
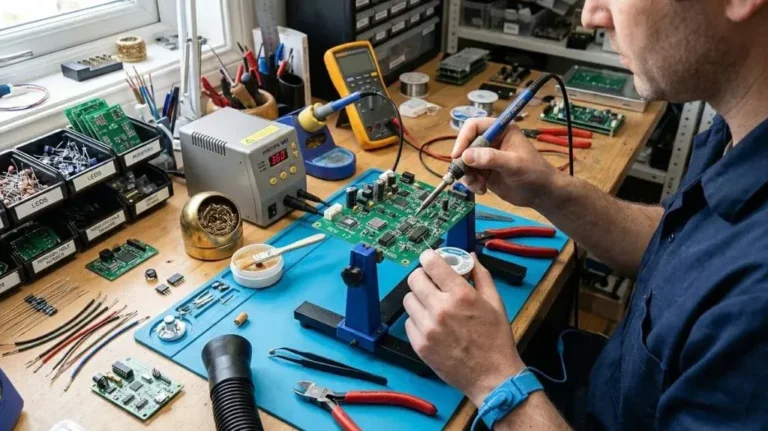
- Helping hands, clamps, or another way to hold the wires steady
- Damp sponge or brass wool for cleaning the tip
- Safety glasses
- Well-ventilated work area
For many small electronic repairs, a temperature-controlled soldering iron is easier to use than a basic uncontrolled iron. The exact temperature depends on the solder type, wire size, connector, and surrounding components. Follow the solder manufacturer’s guidance when available rather than relying on one setting for every job.
Choose the Right Solder
Rosin-core solder made for electronics is generally suitable for joining electrical wires. Lead-free solder usually requires more heat and may behave differently from leaded solder, while acid-core solder intended for plumbing should not be used on electronic connections because its flux can damage electrical materials over time.
Solder is not meant to provide the main mechanical strength of the connection. The wires should be twisted or otherwise joined securely before solder is applied.
Select Suitable Insulation
Heat-shrink tubing provides a neat, durable covering when it is the correct size. Choose tubing that can slide over the wire before soldering and shrink tightly around the finished joint.
If heat-shrink tubing is not suitable for the application, electrical tape or another properly rated insulating method may be used. Do not leave exposed solder or bare conductors where they could contact another wire, metal surface, or grounded part.
Safety Precautions Before Soldering
A soldering iron has a hot metal tip that can cause burns, ignite nearby materials, and damage work surfaces. Place it in a stable stand whenever it is not in use, and keep the cord away from the heated area.
Follow these precautions:
- Work in a clean, well-ventilated space.
- Wear safety glasses, especially when cutting or preparing wire.
- Keep paper, solvents, plastics, and other flammable materials away from the iron.
- Do not touch the tip, molten solder, or recently heated joint.
- Wash your hands after handling solder, particularly when using lead-containing solder.
- Disconnect the equipment or circuit from power before soldering.
- Allow the iron and joint to cool before storing materials or handling the repair.
Never solder a wire while it is connected to an energized circuit. Batteries, capacitors, and some equipment can retain energy even after the main power is switched off, so confirm that the circuit is safely discharged when appropriate.
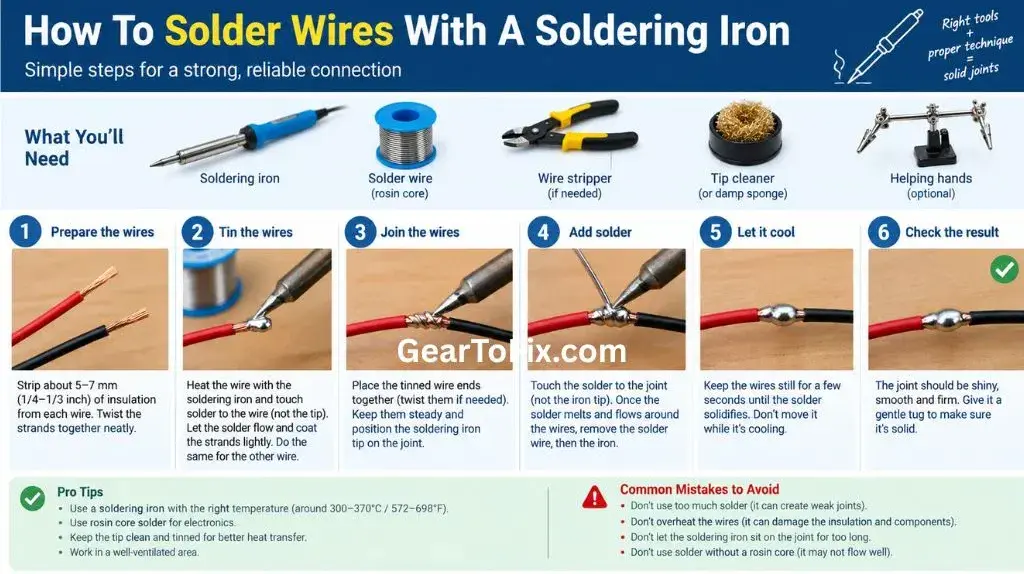
How to Solder Wires With a Soldering Iron
The following method works well for many small stranded-wire connections. Larger cables, high-current connections, heat-sensitive components, and specialized wiring may require different techniques or connectors.
1. Identify and Prepare the Wires
Confirm which wires need to be joined before cutting or stripping them. If the wires are part of a cable, avoid removing more insulation than necessary.
Cut away damaged, oxidized, or badly frayed sections. The exposed copper should appear reasonably clean. If the conductor is dark, heavily corroded, or contaminated, trim it back to a cleaner section when possible.
2. Slide on the Heat-Shrink Tubing
Cut a piece of heat-shrink tubing long enough to cover the finished joint and extend onto the insulation on both sides. Slide it onto one wire before joining the conductors.
This step is easy to forget and difficult to correct later because the tubing will not slide over a completed solder joint. Keep it far enough away from the soldering area that it will not shrink from accidental heat.
3. Strip the Wire Insulation
Use the correct notch or setting on the wire stripper to remove insulation without cutting through the strands. The exposed length should be only as long as needed to make the connection.
For a simple inline splice, removing roughly a short section of insulation from each wire is often sufficient, but the ideal length depends on the wire size and how the joint will be insulated. Avoid leaving a long bare section that could increase the risk of accidental contact.
Twist loose strands lightly so each conductor stays together. Do not twist them so tightly that the wire becomes difficult to join or loses flexibility at the edge of the insulation.
4. Clean and Tin the Soldering Iron Tip
Allow the iron to reach operating temperature, then clean the tip using a damp soldering sponge or brass wool. Apply a small amount of solder to the clean tip until it has a thin, shiny coating.
This process is called tinning. A tinned tip transfers heat more effectively than a dry, oxidized tip. Do not coat the tip with a large ball of solder; excess solder can drip and does not improve the joint.
Clean the tip again if it becomes dark, crusted, or coated with residue during the work.
5. Join the Wires Mechanically
Place the stripped conductors together and twist them so they remain connected without being held by hand. For a basic inline splice, the strands can be interwoven or twisted around each other.
The connection should be stable before solder is applied. If the wires separate when released, improve the mechanical joint or use a fixture to hold them securely.
A soldered connection should not depend on solder alone to prevent the wires from pulling apart.
6. Apply Heat to the Joint
Place the heated tip against the joined conductors rather than touching only the solder. The goal is to heat the wire itself so the solder melts when it contacts the joint.
After a brief moment, touch solder to the heated wire near the iron. If the wire is hot enough, the solder should melt and flow into the spaces between the strands.
A common mistake is to melt solder directly onto the iron and then drop it onto a cool wire. That may create a blob around the outside without properly bonding to the conductor.
7. Feed Enough Solder to Fill the Connection
Continue heating and feed in a small amount of solder as needed. Use enough to coat and join the conductors, but not so much that the joint becomes a large lump.
A properly soldered wire joint generally has:
- Solder distributed through the joined strands
- A smooth connection without large blobs
- No visible gaps between the conductors
- No loose strands sticking outward
- A shape that does not unnecessarily increase the bare area
Do not keep the iron on the joint longer than necessary. Excessive heat can damage insulation, weaken fine wire strands, or transfer heat into nearby components.
8. Remove the Solder, Then the Iron
Once the solder has flowed through the joint, remove the solder wire first. Then remove the iron while keeping the wires still.
Allow the connection to cool naturally for several seconds. Moving the wires while the solder is solidifying can produce a grainy or cracked joint commonly called a cold solder joint.
Do not cool the connection with water or by blowing forcefully on it. Letting it cool undisturbed produces a more reliable result.
9. Inspect and Test the Joint
Examine the connection after it has cooled. Check that the wires are fully joined and that no strands or sharp solder points can pierce the insulation.
Gently pull on each wire. This is not a substitute for an electrical test, but it can reveal a mechanically weak connection.
If the circuit is safe to test, use a multimeter to check continuity. For a simple wire splice, the meter should show continuity through the connection. If the wire is part of a larger circuit, test according to the circuit’s design rather than assuming a continuity reading alone proves the repair is correct.
10. Shrink the Insulation
Move the heat-shrink tubing over the finished joint. Apply heat evenly using a heat gun or another appropriate source until the tubing contracts around the wire.
Keep the heat source moving and avoid overheating the insulation. The tubing should grip the wire without burning, splitting, or exposing the solder beneath it.
If the wire will flex frequently, support the joint with insulation extending onto both sides of the original wire covering. A soldered splice can become a rigid point, so strain relief is valuable in cables that are regularly bent or pulled.
How to Tell Whether the Solder Joint Is Good
A reliable joint usually appears smooth and evenly covered. The solder should have flowed into the wire strands instead of sitting only on the surface.
Look for these signs:
| Inspection result | What it may indicate |
|---|---|
| Solder surrounds and penetrates the joined strands | The joint was heated adequately |
| Large rounded blob on the outside | Too much solder or insufficient heating of the wire |
| Dull, rough, or grainy surface | The joint may have moved while cooling or may not have been heated correctly |
| Exposed loose strands | The wire was not prepared or covered properly |
| Melted insulation near the joint | Excessive heat or prolonged contact |
| Wire separates with a light pull | Weak mechanical connection or poor solder flow |
Appearance is useful, but it does not replace a functional test. A connection can look acceptable and still have an intermittent fault if the conductors were dirty, the solder did not flow through the joint, or the wire moved while cooling.
Common Problems When Soldering Wires
The Solder Will Not Melt on the Wire
This usually means the wire is not receiving enough heat. The tip may be dirty, too small for the wire, or making poor contact. Clean and tin the tip, then place more of its surface against the conductor.
Oxidized wire can also prevent solder from flowing. Cut back to clean metal when practical. Avoid applying excessive heat for a long period because this can damage the wire insulation without solving the underlying problem.
Solder Melts on the Iron but Not on the Joint
The iron may be transferring heat poorly, or the wire may be too large for the tip and available power. Solder should be melted by the heated wire during the joining process, not merely carried from the tip as liquid metal.
Use a clean, tinned tip with enough contact area. A larger conductor may require a more suitable tip or soldering iron.
The Joint Looks Dull and Cracked
A dull or rough appearance can result from movement while the solder was cooling. It can also occur when the joint was not heated evenly.
Reheat the joint until the solder flows, add only a small amount if necessary, and hold the wires completely still as the connection solidifies.
The Insulation Is Melting
The iron may be too hot, held in place too long, or positioned too close to the insulation. Strip only the necessary amount of wire and use a controlled technique.
If the insulation is damaged, cut back the wire and remake the connection. Do not cover severely melted insulation and assume the joint is protected.
The Solder Forms a Ball
Solder may bead up when the wire or tip is dirty, oxidized, or insufficiently heated. Clean the tip and the conductor, then apply heat to the wire before feeding solder.
Too much solder can also create a ball around the joint. Remove excess solder by reheating the connection and using appropriate desoldering tools if necessary.
The Wire Breaks Near the Solder Joint
Solder can make a section of stranded wire rigid. If the cable bends immediately next to that rigid section, the strands may fatigue and break.
Reduce repeated bending, extend the insulation support over the joint, and add strain relief where the cable will move. For applications with constant flexing, a soldered splice may not be the most suitable connection method.
Common Mistakes to Avoid
Forgetting the Heat-Shrink Tubing
Always place the tubing on the wire before making the joint. If you forget, the usual solution is to desolder the connection and start again rather than leaving the joint exposed.
Using Plumbing Flux
Acid-based plumbing flux is designed for different materials and conditions. Residue from it may damage electronic connections. Use solder and flux intended for electrical or electronic work.
Adding Too Much Solder
More solder does not automatically create a stronger connection. Excess solder can hide gaps, increase the rigid area, and make inspection more difficult.
Relying on Solder for Mechanical Strength
Secure the wires first. The solder should reinforce an already stable connection rather than hold two loose wires together by itself.
Moving the Wires While Cooling
Even a small movement can leave a weak or rough joint. Use clamps or helping hands when necessary, and wait until the solder has solidified before releasing the wires.
Soldering Without Disconnecting Power
Power can damage the circuit, create sparks, or cause injury. Disconnect the equipment before beginning and verify that no hazardous energy remains.
When Soldering May Not Be the Best Choice
Soldering is useful for many low-voltage repairs, but it is not automatically the best method for every wire connection. A properly rated crimp connector, terminal block, wire nut, or purpose-built splice may be more suitable depending on the wire size, current, environment, vibration, and required serviceability.
Use extra caution with:
- Mains-voltage wiring
- High-current battery cables
- Automotive circuits exposed to vibration or moisture
- Wires that flex repeatedly
- Connections inside safety-critical equipment
- Large conductors that require substantial heating
For household mains wiring or unfamiliar electrical systems, follow applicable local requirements and use a qualified electrician when appropriate. A neatly soldered connection is not necessarily a substitute for a connection method approved for a specific electrical application.
Frequently Asked Questions Of How To Solder Wires With A Soldering Iron
Can I solder two wires without twisting them together?
You can, but the connection is generally less mechanically secure. Join or interlock the conductors first so they remain connected before solder is applied. Solder should reinforce the joint, not serve as its only support.
Should the soldering iron touch the solder or the wire first?
The iron should primarily heat the wire and the joint. Once the conductors are hot enough, feed solder onto the heated connection. This helps the solder flow through the strands instead of forming a coating on the iron or the outside of a cool wire.
How much solder should be used on a wire joint?
Use enough to fill the spaces between the joined strands and coat the connection, but not enough to create a large lump. The finished joint should be covered without excessive buildup or sharp protrusions.
Why does my solder joint look dull?
A dull joint may have moved while cooling, may not have been heated evenly, or may involve contaminated wire or an oxidized tip. Reheat it carefully and allow it to cool without movement. If the conductor or insulation is damaged, remake the joint.
Can electrical tape replace heat-shrink tubing?
Electrical tape can insulate a splice when it is suitable for the application and applied securely. Heat-shrink tubing often provides more consistent coverage and better strain support, but neither method corrects a mechanically weak or poorly soldered connection.
Is soldering suitable for every electrical wire?
No. Suitability depends on wire size, current, movement, heat, moisture, vibration, and applicable electrical requirements. Small low-voltage wires are commonly soldered, while larger or safety-critical wiring may require a rated crimp, terminal, or professional installation.
Final Takeaway
How to solder wires with a soldering iron comes down to three fundamentals: prepare clean conductors, heat the joint rather than merely melting solder onto it, and keep the connection still as it cools. Secure the wires mechanically, use electronics-grade solder, insulate the finished joint, and test it before returning the circuit to service.
For wires exposed to heavy current, repeated movement, moisture, or mains voltage, choose a connection method specifically suited to those conditions rather than assuming solder alone is adequate.

Scott Yarnell is a tool expert focused on practical guides, product research, and real-world tool performance to help readers make informed decisions.