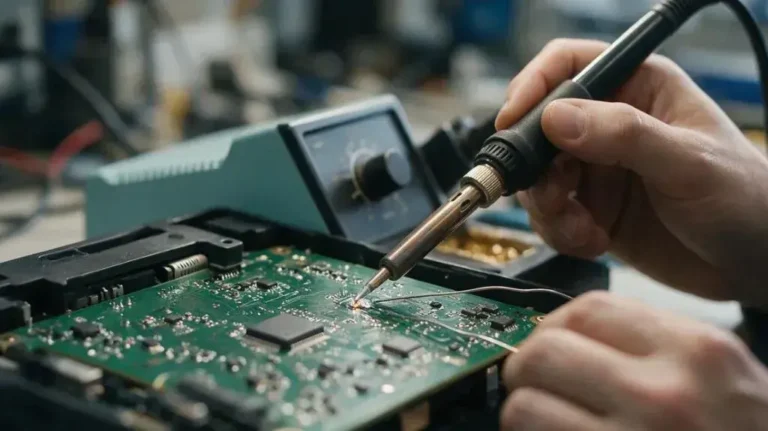

Why Does Solder Not Flow On The Joint: 5 Easy Fixes
Few things are more frustrating during an assembly or repair project than watching solder ball up, roll off, or refuse to stick to a connection. When solder behaves this way, it is a clear indicator that the physical and chemical conditions necessary for a reliable bond have not been met.
At its core, solder does not flow on the joint because of insufficient heat, surface oxidation, or a lack of active flux. Solder is designed to wet and spread across clean, hot metal surfaces through capillary action. If the metal surfaces are too cold, covered in microscopic dirt or oxide layers, or if the flux has burned away, the molten solder will pull back into a sphere rather than bonding to the joint.
To fix this issue, you must identify which of these variables is disrupting the soldering process.
The Core Reasons Why Solder Fails to Flow
For soldering to work, a metallurgical bond must form between the solder alloy and the base metals (such as copper, brass, or component leads). This process, known as “wetting,” requires the solder to dissolve a tiny amount of the base metal to create an intermetallic layer.
If you are struggling with a joint where the solder simply will not flow, one or more of the following issues is almost certainly the cause.
1. Insufficient Heat (Thermal Mass Issues)
The most common mistake is trying to melt the solder directly with the soldering iron tip rather than using the iron to heat the joint. If you press solder against the iron, it will melt instantly, but as soon as it touches the cold joint, it freezes.
The joint itself must be hot enough to melt the solder on contact. Several factors can prevent a joint from reaching this temperature:
- The iron is underpowered: A low-wattage iron (e.g., 15 to 25 watts) may not be able to generate or maintain enough heat for larger wires or thick terminal lugs.
- Large thermal mass: Large copper traces, ground planes on circuit boards, or thick wires act as heatsinks, rapidly pulling heat away from the joint faster than a small iron tip can supply it.
- Undersized tip: A tiny, fine-point conical tip has very little surface area. It cannot transfer heat quickly enough to larger components.
2. Surface Oxidation and Dirt
Solder cannot bond with oxidized or dirty metals. When exposed to oxygen, metals like copper, brass, and iron naturally form a microscopic oxide layer on their surfaces. Heat accelerates this oxidation process dramatically.
If you attempt to solder over dirt, grease, finger oils, or oxide layers, the molten solder will experience high surface tension. Instead of spreading smoothly, it will form a distinct bead and roll away from the metal.
3. Lack of Flux or Burnt-Off Flux
Flux is the chemical cleaning agent that makes soldering possible. Its job is to dissolve existing oxide layers when heated, prevent new oxides from forming during the process, and reduce the surface tension of the liquid solder so it flows easily.
Most modern solder wires have a hollow core filled with flux (rosin or acid). However, flux has a very short lifespan once heated. If you hold the solder against a hot iron tip for too long before applying it to the joint, the flux will boil off and evaporate. Without active flux, the solder will oxidize immediately, turn dull, and refuse to flow.
4. An Oxidized or Dirty Iron Tip
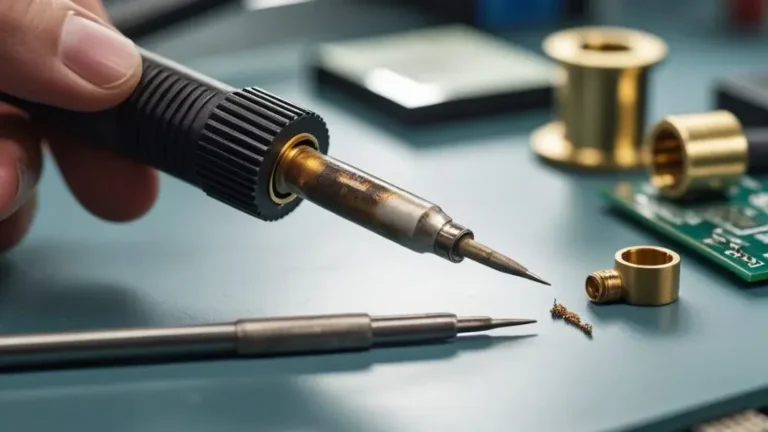
A soldering iron tip must be bright, shiny, and covered in a thin layer of fresh solder (a process called “tinning”). If the tip is black, dull, or crusty, it is heavily oxidized.
Oxidation acts as a highly effective thermal barrier. Even if your soldering station is set to a high temperature, an oxidized tip cannot transfer that heat to the joint. The iron may be hot, but the joint remains cold.
How to Troubleshoot Why Solder Does Not Flow on the Joint
To resolve the issue quickly, look at the symptoms of your failing joint and match them to the likely causes below.
| Symptom | Probable Cause | Immediate Solution |
|---|---|---|
| Solder melts on the iron tip but balls up and rolls off the joint. | The joint is too cold or heavily oxidized. | Clean the joint surfaces with abrasive material; heat the metal joint directly, not the solder. |
| Solder turns into a dull, sticky paste that clings to the iron tip. | The flux has completely burned off or evaporated. | Clean the tip, apply fresh flux to the joint, and use fresh flux-core solder. |
| The iron melts solder slowly or not at all, even when set to high heat. | The iron tip is oxidized (blackened) and cannot transfer heat. | Clean the tip using brass wool or tip tinner, then apply fresh solder to wet the tip. |
| Solder flows onto one wire or pad but refuses to touch the adjacent one. | One of the surfaces is dirty, or they have vastly different thermal masses. | Clean the stubborn surface; focus the heat of the iron on the larger component first. |
Step-by-Step Guide to Get Solder Flowing Smoothly
If you are struggling with a stubborn connection, reset your process and follow these step-by-step instructions to ensure a perfect flow.
Step 1: Clean the Base Metals
Ensure the components you are joining are completely free of dirt, oil, and corrosion.
- For copper pipes, heavy wires, or older circuit boards, gently scrub the metal surfaces with fine steel wool, a brass wire brush, or high-grit sandpaper until the metal is bright and shiny.
- Wipe the area with isopropyl alcohol (90% or higher) to remove any leftover grease or finger oils.
Step 2: Clean and Tin the Soldering Iron Tip
Your iron tip must be prepared to transfer heat efficiently.
- Wipe the hot tip on a damp cellulose sponge or plunge it into a brass wire tip cleaner to remove old solder and black carbon buildup.
- Immediately apply a small amount of fresh flux-core solder to the clean tip. It should melt and coat the tip in a shiny, silver layer. If it pools or balls up, repeat the cleaning process or use a chemical tip tinner/activator.
Step 3: Apply External Flux
While flux-core solder is sufficient for small electronics, adding external flux is highly recommended for difficult joints, splices, or larger components.
- Apply a thin layer of appropriate flux (rosin-based for electronics, acid-based only for plumbing and mechanical joints) directly to the joint before heating.
Step 4: Heat the Joint, Not the Solder
Place the flat side of your iron tip against the joint so that it makes contact with both metals simultaneously (for example, both the circuit board pad and the component lead).
- Hold the iron in place for 1 to 3 seconds to let the heat transfer throughout the entire joint.
- Tip: Apply a tiny droplet of solder directly at the contact point between the iron tip and the joint. This liquid solder bridge dramatically increases the heat transfer rate.
Step 5: Feed the Solder Into the Joint
Once the joint is hot, touch the solder wire to the opposite side of the joint—away from the iron tip itself.
- If the joint has reached the correct temperature, the solder will melt instantly upon touching the metal and flow smoothly into all gaps.
- Feed just enough solder to coat the connection, then remove the solder wire first, followed immediately by the iron.

Crucial Equipment and Material Considerations
If you have cleaned your components and applied the correct technique but the solder still refuses to flow, the issue likely lies with your materials or tools.
Lead-Free vs. Leaded Solder
Traditional 60/40 leaded solder melts at roughly 183°C (361°F) and flows exceptionally well. Modern lead-free solder (usually a blend of tin, silver, and copper) is more environmentally friendly but significantly harder to work with.
- Lead-free solder requires a higher melting temperature—usually around 217°C to 220°C (422°F to 428°F).
- Lead-free solder has higher surface tension, meaning it does not wet or flow as easily as leaded solder. If you are using lead-free solder, you must use a higher temperature setting on your iron (typically 350°C to 370°C / 660°F to 700°F) and apply extra flux to aid the flow.
Selecting the Right Tip Shape
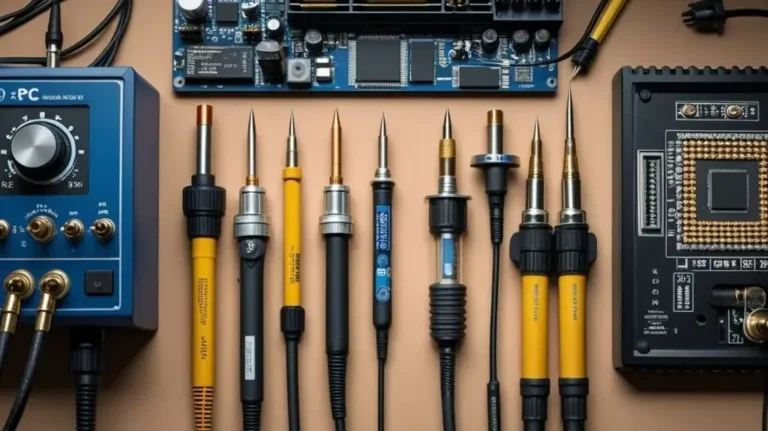
A fine, needle-like conical tip is poor at transferring heat because its contact point is extremely small. For most general soldering tasks, use a chisel (screwdriver) tip or a bevel tip. These shapes provide a flat surface area that maximizes contact with the joint, allowing rapid heat transfer.
Frequently Asked Questions
Why does my solder ball up and roll off copper wire?
Solder balls up on copper wire because the wire is either oxidized or has not reached the melting temperature of the solder. Ensure you scrape or sand the copper wire until it is bright red-gold, apply a small amount of flux, and heat the wire itself with the iron before touching the solder to the wire.
Can I solder without using flux?
No, you cannot successfully solder without flux. Even if the metal looks clean, heating it causes rapid oxidation which prevents the solder from bonding. You must use either flux-core solder or apply external flux directly to the joint.
What temperature should my soldering iron be?
For standard 60/40 leaded solder, an iron temperature of 300°C to 320°C (570°F to 600°F) is ideal. For lead-free solder, increase the temperature to between 350°C and 380°C (660°F to 715°F). Avoid running the iron hotter than necessary, as extreme heat burns off the flux too quickly and accelerates tip oxidation.
Is plumbing flux different from electronics flux?
Yes, and they should never be interchanged. Plumbing flux is highly acidic and will corrode delicate electronic components and circuit boards over time. For electronics, use only rosin-core solder or specialized no-clean/water-soluble electronic fluxes.
Conclusion On Why Does Solder Not Flow On The Joint
Solder is not a glue; it relies on a chemical and thermal reaction to create a joint. When solder refuses to flow, it is almost always a symptom of insufficient heat transfer or surface contamination.
To resolve the issue, always start by thoroughly cleaning the metal surfaces and ensuring your iron tip is clean and tinned. When applying heat, focus on warming the joint rather than melting the solder directly on the iron. By keeping your tools clean, applying fresh flux, and letting the heat of the joint draw the solder in, you can consistently achieve smooth, reliable, and professional-grade connections.

Scott Yarnell is a tool expert focused on practical guides, product research, and real-world tool performance to help readers make informed decisions.