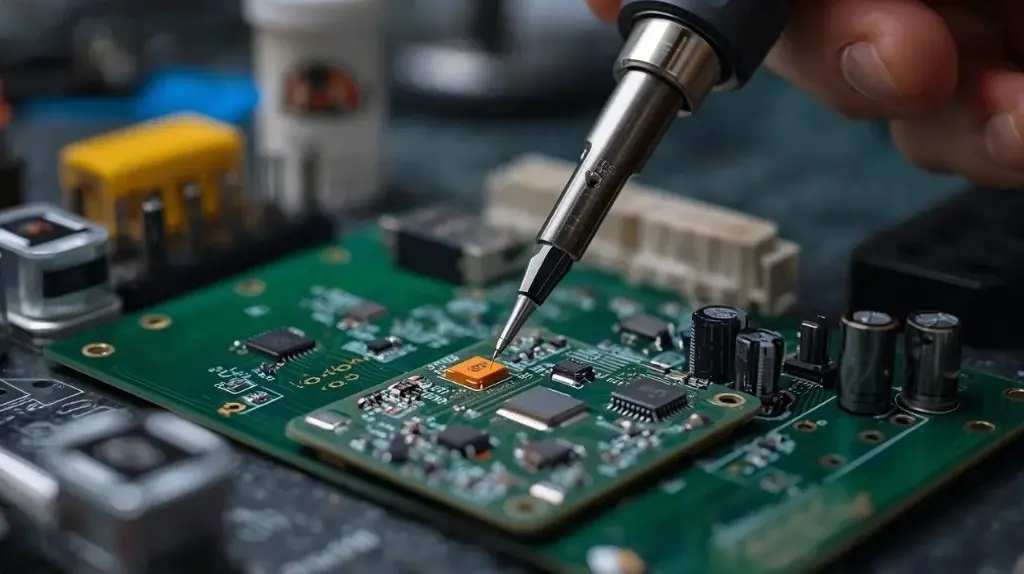
How To Make A Good Solder Joint: Easy Guide
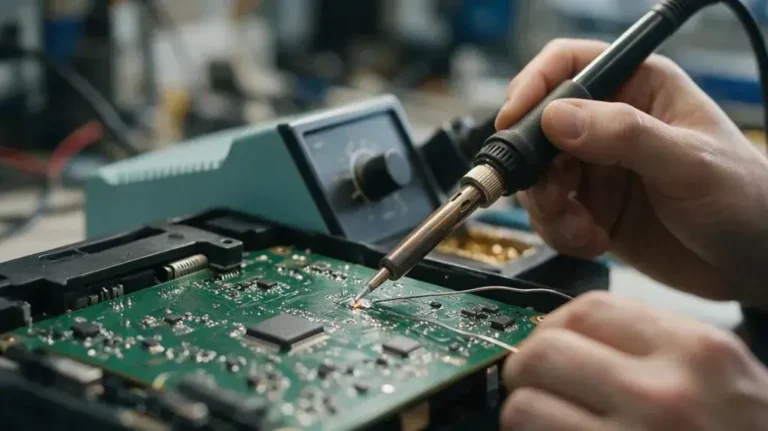
A good solder joint is clean, mechanically strong, and electrically conductive. It is formed by heating the connection point such as a component lead and a circuit board pad and applying solder so that it melts, wets the metal surfaces, and cools into a smooth, concave shape resembling a miniature volcano.
Learning how to make a good solder joint is an essential skill for electronics repair, DIY wiring, and custom circuit assembly. A poorly made joint can cause intermittent electrical failures, high resistance, or complete structural failure of the connection.
Anatomy of a Perfect Solder joint
To understand how to make a good solder joint, you must first know what a successful joint looks like. When molten solder is applied to properly heated metals, it undergoes a process called “wetting.” Wetting is the metallurgical bonding process where the solder dissolves and merges with the surface metal.
A perfect solder joint exhibits the following visual characteristics:
- Concave Fillet: The solder should curve inward slightly, wrapping around the wire or component lead.
- Complete Coverage: The solder must fully cover the pad and the lead without overflowing.
- Smooth Surface: Leaded solder should have a bright, highly reflective, mirror-like finish. Lead-free solder cools to a slightly duller, satin-like finish but should still look uniform and smooth.
- Low Profile: The joint should use just enough solder to cover the connection. Excess solder forms a bulbous, convex ball, which can hide hidden voids or bridge adjacent pads.
Essential Tools and Materials
Having the right equipment is critical for heat transfer and material compatibility. The quality of your tools directly influences your ability to control heat, which is the most important variable in soldering.
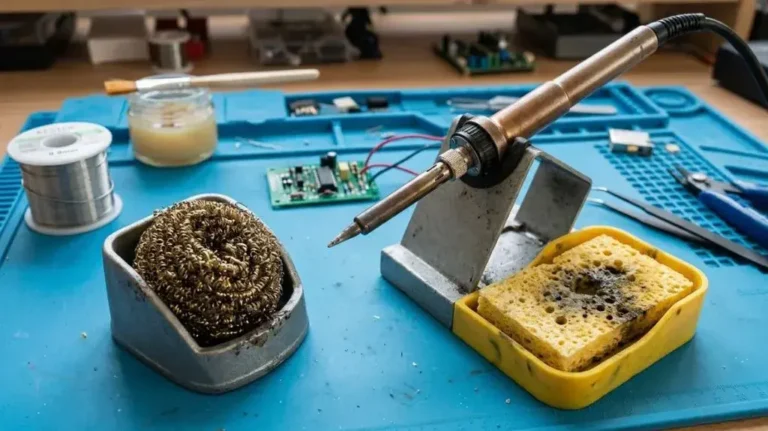
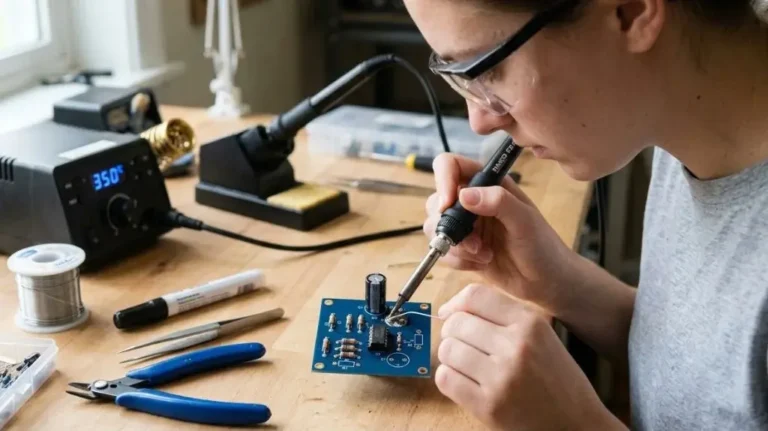
- Soldering Iron or Station: An adjustable-temperature soldering station is highly recommended. It maintains a consistent tip temperature, which prevents damage to sensitive components.
- Solder Alloy: Solder is available in leaded and lead-free formulations. Leaded solder is easier to work with because of its lower melting point, while lead-free solder is safer for health and environmental reasons.
- Flux: This chemical cleaning agent removes oxidation from metal surfaces when heated, allowing the solder to flow smoothly. Most solder wire has a hollow core filled with flux (flux-core solder), but external flux is often needed for oxidized wires or heavy copper pads.
- Tip Cleaning Tools: A brass wire sponge or a damp cellulose sponge is used to clean oxide buildup off the soldering iron tip.
Solder Type Comparison
| Solder Type | Typical Composition | Melting Point | Advantages | Disadvantages |
|---|---|---|---|---|
| Leaded (Eutectic) | 63% Tin / 37% Lead | 183°C (361°F) | Low melting point, flows beautifully, cools quickly, shiny finish. | Health hazards from lead, environmental restrictions. |
| Leaded (Standard) | 60% Tin / 40% Lead | 183°C–190°C (361°F–374°F) | Affordable, excellent wetting characteristics. | Has a semi-liquid “plastic” state during cooling, prone to disturbed joints. |
| Lead-Free (SAC305) | 96.5% Tin / 3% Silver / 0.5% Copper | 217°C (422°F) | Environmentally friendly, safe for consumer products. | Higher melting point, harder to flow, duller finish, eats iron tips faster. |
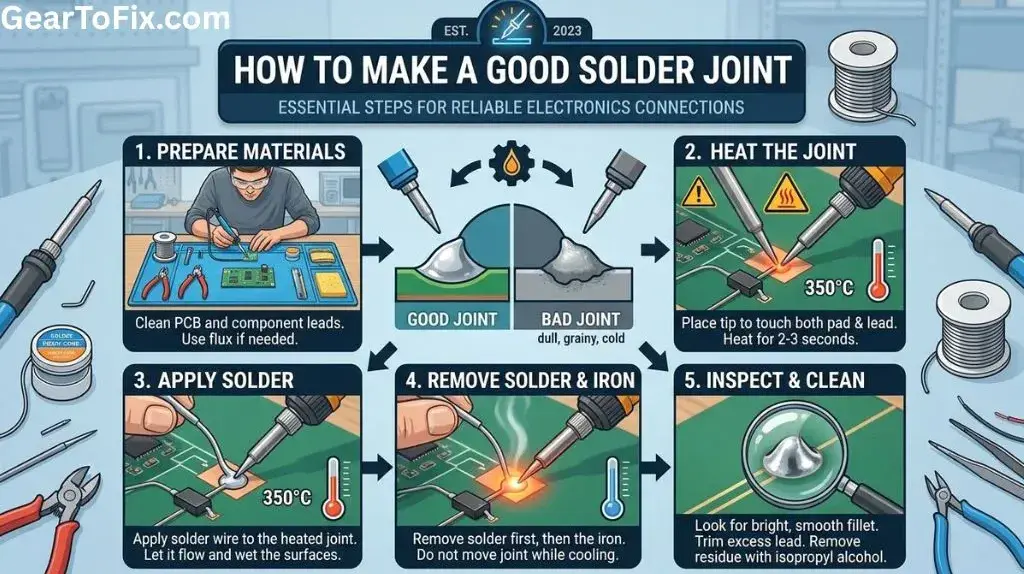
Step-by-Step Guide: How to Make a Good Solder Joint
To consistently achieve high-quality connections, follow this structured, step-by-step soldering process.
Step 1: Clean and Prepare the Surfaces
Solder will not adhere to dirty, greasy, or oxidized metal. Wipe the circuit board pads and component leads with isopropyl alcohol (99% purity is ideal) to remove grease and residues. If the metal is heavily oxidized, gently scrape it with a fine abrasive pad or fiberglass brush until bright metal is visible.
Step 2: Set the Iron Temperature
Adjust your soldering iron to the correct temperature.
- For leaded solder, set the iron between 320°C and 340°C (608°F to 644°F).
- For lead-free solder, set the iron between 350°C and 380°C (662°F to 716°F).
Step 3: Tin the Soldering Iron Tip
Before touching the joint, apply a small amount of fresh solder directly to the hot tip of the iron. This process, called “tinning,” coats the tip with a liquid layer of solder. This liquid bridge greatly improves heat transfer from the iron to the joint. Wipe away any excess solder on your brass cleaning sponge.
Step 4: Heat the Joint Simultaneously
Place the flat face of the soldering iron tip so that it makes contact with both the component lead and the circuit board pad (or the two wires you are joining).
Do not apply solder yet. Hold the iron in place for 1 to 2 seconds to allow both metal surfaces to reach the melting temperature of the solder.
Step 5: Feed Solder Into the Joint
Introduce the solder wire to the side of the joint opposite the soldering iron tip. The heat of the metals should melt the solder, causing it to flow and coat both surfaces.
Do not press the solder directly against the iron tip, as this will melt the solder onto the tip without heating the joint, resulting in a cold joint.
Step 6: Remove Solder, Then the Iron
Once the solder flows and forms a neat, concave fillet around the connection (usually taking 1 to 2 seconds), pull the solder wire away. Immediately after, lift the soldering iron tip straight up and away from the joint.
Step 7: Let the Joint Cool Undisturbed
Do not blow on the joint to speed up cooling, and do not allow the components to move while the solder solidifies. Sudden movement or rapid cooling can fracture the metal as it hardens, creating a weak and unreliable connection.
Critical Temperature and Heat Control Factors
Controlling heat transfer is the most challenging aspect of learning how to make a good solder joint. If you apply too little heat, the solder will not melt or bond correctly. If you apply too much heat, you risk destroying delicate components, lifting copper pads off circuit boards, or burning the flux before it can clean the metals.
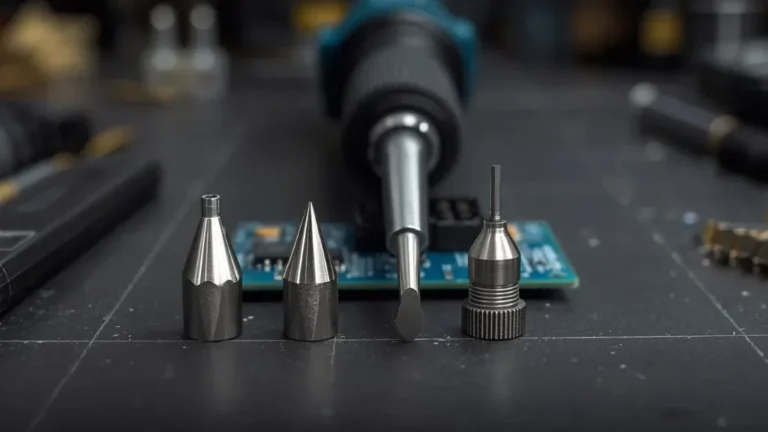
- Thermal Mass: Larger metal objects (like thick wires or ground planes on a circuit board) absorb and dissipate heat quickly. They require a larger, chisel-shaped soldering tip and more contact time to reach the proper temperature. Small components require a fine tip and minimal contact time.
- Flux Behavior: Flux is designed to boil away as it cleans the metal. If you leave the iron on the joint for too long (more than 4 to 5 seconds), the flux will completely burn off. This causes the solder to oxidize rapidly, turn grimy, and lose its ability to flow.
- Tip Maintenance: Keep your soldering tip clean. A black, oxidized tip acts as a thermal insulator, preventing heat from transferring to the joint. Clean and re-tin your tip frequently during use, and always leave a thick layer of solder on the tip before turning the iron off to prevent oxidation during storage.
Common Soldering Mistakes and How to Avoid Them
Even experienced technicians occasionally make mistakes. Recognizing these common visual cues will help you troubleshoot and correct issues with your solder joints.
- The Cold Solder Joint: This looks dull, grimy, or lumpy. It happens when the component lead or pad was not heated sufficiently, causing the solder to harden before wetting the surface. To fix it, reapply heat to the joint, add a small touch of fresh flux, and let the solder melt and flow properly.
- The Disturbed Joint: This occurs when a wire or component moves before the solder has fully solidified. It looks frosted, fractured, or rough. Reheat the joint with a clean iron tip to reflow the solder, then hold it perfectly still until it cools.
- Solder Bridging: This happens when excess solder spills over, connecting two adjacent pins or pads that should be separate. This causes a short circuit. Use a desoldering braid (solder wick) or a solder sucker to remove the excess solder.
- Insufficient Wetting: The solder sits on top of the pad like a ball rather than spreading out into a concave shape. This is caused by dirty surfaces or failing to heat the pad. Clean the area, apply flux, and ensure the iron tip touches both the pad and the lead.
Safety Precautions for Soldering
Soldering involves high temperatures, toxic materials, and chemical fumes. Always prioritize safety when working.
- Ventilation: Flux fumes can irritate the respiratory system and cause long-term health issues like asthma. Always solder in a well-ventilated area or use a dedicated solder fume extractor with an active carbon filter.
- Eye Protection: Molten solder can spit or splatter, especially if there is moisture or trapped flux on the joint. Always wear safety glasses.
- Lead Handling: If you use leaded solder, wash your hands thoroughly with soap and water after soldering. Never eat, drink, or touch your face while handling solder wire.
- Fire Hazards: Always return your soldering iron to a designated safety stand when not in use. Never leave a hot iron unattended, and keep the work area free of flammable materials.
FAQs Of How To Make A Good Solder Joint
What temperature should I set my soldering iron to?
For general electronics work using leaded solder (such as 63/37), set your soldering iron to 320°C–340°C (608°F–644°F). For lead-free solder, set it higher, around 350°C–380°C (662°F–716°F). If you are soldering thick wires or large connectors, you may need to increase the temperature slightly to compensate for rapid heat dissipation.
Why does my solder ball up and roll off the tip?
Solder balls up and rolls off when the tip is oxidized or dirty. Black oxidation on the tip acts as a barrier to heat and solder. Clean the tip using a brass wire sponge, apply a tip tinner/cleaner compound, or wipe it on a damp sponge and immediately apply fresh solder to re-tin the surface.
Do I really need to use flux?
Yes, flux is absolutely necessary. Even if you are using rosin-core solder, adding a small amount of external liquid or paste flux to the joint ensures that oxides are actively removed during heating. Flux lowers surface tension, allowing the molten solder to flow and wet the metal surfaces instead of bunching up.
How do I fix a cold solder joint?
To fix a cold joint, apply a small amount of flux to the connection, place your clean, tinned soldering iron tip against the joint, and heat it until the solder completely melts and flows into a smooth, shiny shape. Remove the iron and keep the joint completely still while it cools.
What is the difference between leaded and lead-free solder?
Leaded solder (typically 60/40 or 63/37) has a lower melting temperature, flows easily, and leaves a shiny finish, but it contains toxic lead. Lead-free solder is safer for health and the environment, but it requires higher working temperatures, is slightly harder to work with, and dries with a duller, satin-like finish.
Conclusion
Understanding how to make a good solder joint relies on mastering heat transfer, maintaining clean surfaces, and using the right materials. By heating both parts of the joint simultaneously and feeding the solder onto the heated metal rather than the iron tip, you ensure a strong metallurgical bond. Keep your iron tip clean, use flux to prevent oxidation, and allow the joint to cool completely undisturbed. With proper technique and a bit of practice, your soldered connections will be both electrically reliable and mechanically durable.

Scott Yarnell is a tool expert focused on practical guides, product research, and real-world tool performance to help readers make informed decisions.