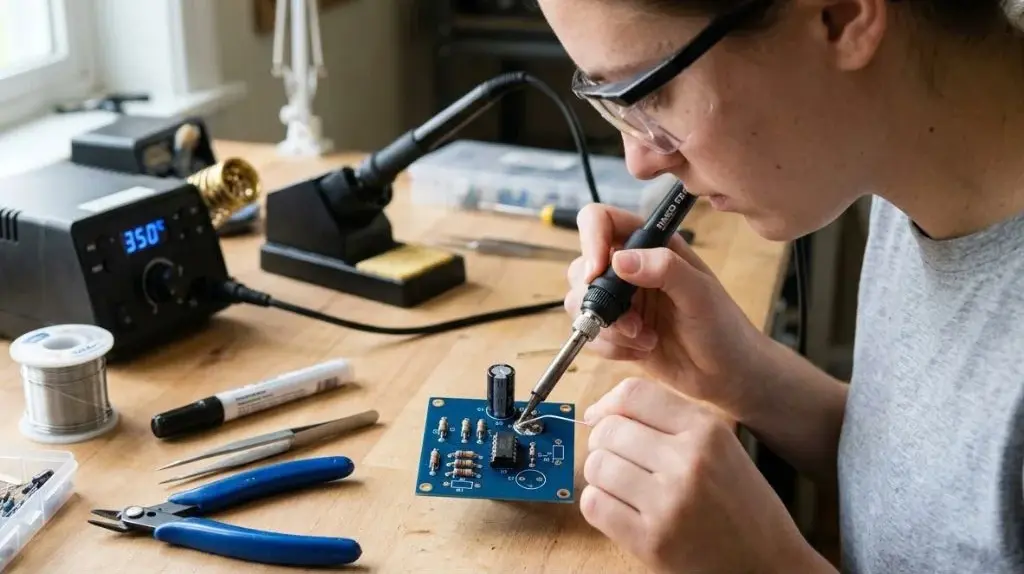
How Long Does It Take To Learn Soldering: Practice Guide
How long does it take to learn soldering? Most beginners can learn the basic technique in a few hours, become reasonably comfortable after several practice sessions, and develop reliable soldering skills over several weeks. The exact timeline depends on what you want to solder, how often you practice, and whether you are learning through-hole electronics, wires, circuit boards, or more demanding surface-mount work.
Soldering is not difficult to begin, but producing clean, reliable joints consistently takes practice. A beginner may learn the basic hand movements quickly, while accurate heat control, inspection, troubleshooting, and working with small components require more time.
The Short Answer: How Long Does It Take to Learn Soldering?
For basic electronics soldering, a realistic learning timeline looks like this:
- A few hours: Learn how to heat a joint, apply solder, remove heat, and avoid the most obvious mistakes.
- Several practice sessions: Solder simple wires, connectors, and through-hole components with improving consistency.
- A few weeks of regular practice: Produce cleaner joints and recognize common problems such as cold joints, solder bridges, and insufficient heating.
- Several months: Work more confidently on delicate boards, tight spaces, repairs, and surface-mount components.
These are general estimates, not fixed deadlines. Someone who practices for 30 minutes several times a week may progress more steadily than someone who completes one long session and then stops practicing.
The type of soldering also matters. Joining two large wires is usually easier than soldering tiny components onto a circuit board. Repair work can be more difficult than assembling a simple kit because the board may already be damaged, contaminated, or difficult to access.
What Beginners Need to Learn First
Soldering involves more than melting metal. A beginner needs to coordinate the soldering iron, the workpiece, and the solder while controlling heat and timing.
The first skills usually include:
- Preparing the tip so it transfers heat effectively.
- Heating the joint, not just the solder.
- Applying solder to the heated connection rather than directly to the iron tip.
- Removing the solder and iron in the correct order.
- Allowing the joint to cool without movement.
- Inspecting the result for adequate coverage and unwanted connections.
A good solder joint should be mechanically stable and electrically connected. It should not rely on a large blob of solder to hold parts together. The solder should flow onto the heated surfaces and form a neat connection.
Beginners often focus on making solder melt. That is only the starting point. The more important skill is learning how much heat and solder the joint needs without overheating the component, lifting a circuit-board pad, or creating a bridge between neighboring connections.
A Practical Soldering Learning Timeline
After the First Practice Session
During an initial session, most people can learn the basic sequence:
- Secure the parts so they do not move.
- Clean and prepare the soldering tip.
- Heat the connection.
- Feed solder into the joint.
- Remove the solder and iron.
- Let the joint cool.
At this stage, the results may be inconsistent. Some joints may contain too much solder, while others may not have been heated long enough. That is normal during the first attempts.
A beginner should focus on controlling the process rather than trying to work quickly. Speed usually improves naturally once the correct technique becomes familiar.
After Several Practice Sessions
With repeated practice, many beginners become comfortable soldering larger wires, terminals, and through-hole components. They may begin to recognize visual differences between a sound joint and a poor one.
Typical improvements include:
- Holding the iron more steadily
- Using less solder
- Heating the joint more evenly
- Avoiding accidental movement while the solder cools
- Keeping the tip clean
- Correcting simple mistakes with desoldering tools
This stage is often enough for basic hobby projects, simple kits, cable repairs, and general electronics assembly, provided the work is suitable for the person’s skill level.
After Several Weeks of Regular Practice
Regular practice helps develop consistency. Instead of producing one good joint followed by several poor ones, the learner can usually achieve acceptable results across a group of connections.
At this stage, a learner may be ready to work with:
- Circuit boards with moderate component spacing
- Headers and switches
- Wire-to-terminal connections
- Basic audio or power cables
- Simple electronics kits
- Replacement components on accessible boards
The learner should also be able to identify common problems and decide whether a joint needs to be reheated, resoldered, or cleaned.
After Several Months
More advanced soldering involves greater precision and better judgment. This may include surface-mount components, delicate circuit boards, crowded connection points, and repairs where excessive heat can cause damage.
Experience becomes especially valuable when:
- Components are very small
- Pads are close together
- The board has multiple layers
- The connection is difficult to reach
- The component is heat-sensitive
- Old solder or contamination affects the joint
- The repair must be completed without damaging nearby parts
At this level, learning continues through repeated exposure to different materials, board designs, component sizes, and failure conditions.
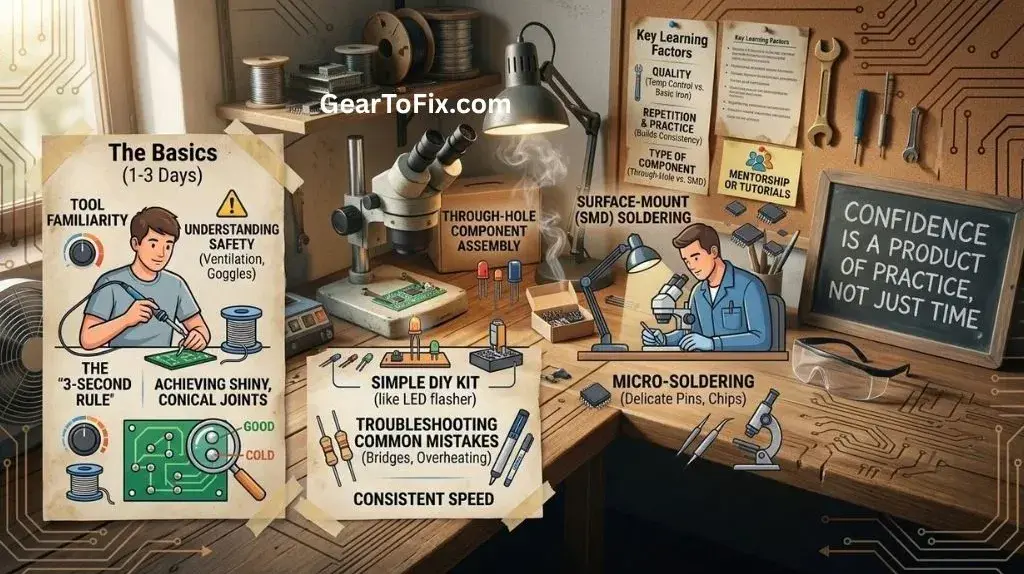
What Affects How Quickly You Learn Soldering?
The Type of Soldering
The phrase “learning soldering” can describe very different tasks.
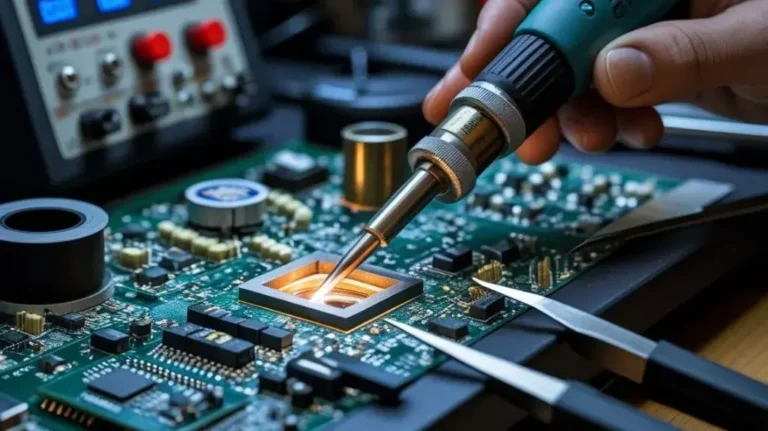
Basic through-hole soldering is generally more forgiving because the component leads and pads are relatively large. Surface-mount soldering requires more precision because the parts and connection points may be extremely small.
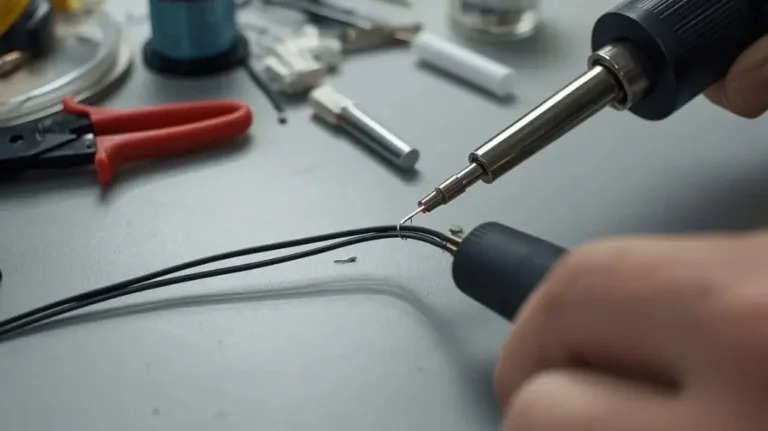
Wire soldering also varies. Large-gauge wire may need more heat and longer heating, while thin wires and small terminals can be damaged by excessive heat.
Your learning time may be longer if your goal involves:
- Surface-mount components
- Fine-pitch integrated circuits
- Circuit-board repair
- Battery connections
- High-power wiring
- Plumbing or metalwork soldering
- Reworking damaged pads or traces
These applications require different tools, materials, and techniques. Skill in one type of soldering does not automatically transfer perfectly to another.
Practice Frequency
Short, regular practice is usually more useful than occasional sessions. Frequent practice helps reinforce hand position, timing, tip control, and visual inspection.
A practical routine might involve:
- Short practice sessions several times per week
- Repeating the same type of joint until it looks consistent
- Inspecting every connection
- Deliberately correcting one problem at a time
- Practicing removal as well as installation
Long gaps between sessions can make the process feel unfamiliar again, especially during the early stages.
Tool Quality and Setup
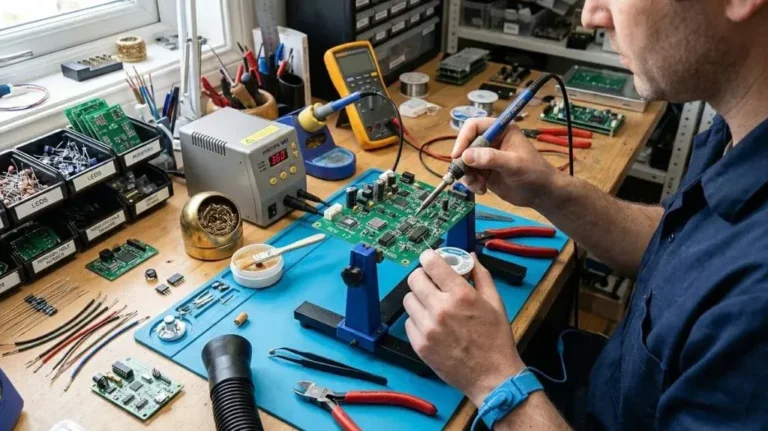
Equipment does not replace skill, but unsuitable tools can make learning harder. A poorly maintained tip, unstable work surface, or inadequate lighting can create problems that appear to be technique failures.
A beginner benefits from:
- A temperature-controlled soldering iron suitable for the work
- Clean, properly maintained tips
- Solder appropriate for the application
- A stable holder for the iron
- Good lighting
- Magnification for small work
- A way to hold the work securely
- Basic desoldering equipment
The exact temperature and solder type depend on the materials, components, and equipment. Follow the guidance for the specific solder and components rather than treating one setting as universal.
The Quality of Instruction
A clear demonstration can help a beginner understand how the solder should flow and how much material is needed. Instructions that explain the reason behind each step are generally more useful than instructions that only list actions.
A learner should understand that:
- Solder does not compensate for a dirty or poorly fitted joint.
- Applying more solder does not necessarily create a stronger connection.
- The iron should heat the joint before solder is applied.
- A joint must remain still while it solidifies.
- Excessive heat can damage components and circuit-board pads.
Understanding these principles makes it easier to correct mistakes independently.
How to Practice Soldering Efficiently
A structured practice plan can shorten the learning curve.
1. Start With Larger, Simple Connections
Begin with scrap wire, larger terminals, or a basic through-hole practice board. These connections give you more room to observe how heat and solder behave.
Avoid starting with tiny surface-mount components or valuable electronics. Early practice often produces mistakes, and inexpensive practice materials reduce pressure.
2. Practice Tinning
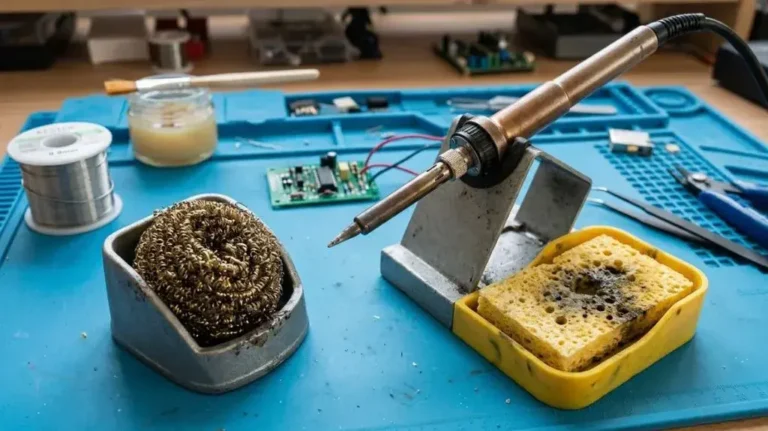
Tinning means applying a thin coating of solder to a wire or tool surface. Tinned wire strands are easier to join, and a tinned tip can transfer heat more effectively than a dry, oxidized tip.
Practice applying only enough solder to coat the surface. A large ball of solder is not the goal.
3. Make Repeated Joints
Repetition helps you compare results. Make several similar connections, then inspect them together. Look for differences in:
- Solder coverage
- Smoothness
- Amount of solder
- Connection alignment
- Signs of movement during cooling
This makes small technique problems easier to identify.
4. Practice Desoldering
Removing solder is an important part of real-world work. Components may need to be replaced, wires may need to be repositioned, and mistakes may need correction.
Learn how to use appropriate desoldering tools, such as a solder sucker or desoldering braid, without pulling excessively on the component or circuit-board pad.
5. Inspect Every Joint
Inspection is part of soldering, not an optional final step. Use adequate lighting, and use magnification when the connection is small.
A questionable joint should be corrected before the assembly is tested. Testing a circuit with an unnoticed short or weak connection can make troubleshooting more difficult.
Signs That You Are Improving
You do not need to produce perfect joints immediately. Progress is easier to judge by looking for consistent improvements.
You are likely developing useful soldering skills when you can:
- Prepare the iron without contaminating the work
- Keep the workpiece steady
- Heat the joint without prolonged contact
- Apply a controlled amount of solder
- Avoid solder bridges between nearby pads
- Recognize a dull, cracked, or incomplete joint
- Correct mistakes without damaging the board
- Produce several similar joints with comparable quality
- Explain why a connection failed
Confidence should come from repeatable results, not from working quickly. A slower, clean connection is generally more useful than a fast connection that must be repaired later.
Common Beginner Mistakes That Slow Progress
Applying Solder Directly to the Iron
Touching solder to the iron tip can make it melt, but it may not properly heat the connection. The result can be a joint where solder sits on the surface without bonding well to the parts.
Heat the joint first, then feed solder into the connection.
Using Too Much Solder
Excess solder can hide a poor connection and may bridge nearby electrical points. If the joint requires a large blob to remain in place, the parts may not have been positioned or heated correctly.
Use enough solder to cover the connection without obscuring it.
Moving the Joint While It Cools
Movement during solidification can create a weak or rough connection. Hold the parts steady until the solder has cooled.
Leaving the Iron on the Connection Too Long
Long heating can damage insulation, components, circuit-board pads, or nearby materials. Use enough heat to form the joint efficiently, then remove the iron.
If the solder does not flow within a reasonable time, stop and check the tip condition, surface cleanliness, joint contact, and tool suitability rather than simply applying heat for longer.
Ignoring Tip Maintenance
A dirty or oxidized tip transfers heat poorly. Keeping the tip clean and properly coated helps produce more predictable results.
Practicing on Valuable Equipment
Early mistakes are part of learning. Practice on suitable scrap materials or low-risk projects before attempting repairs on expensive or difficult-to-replace electronics.
Safety While Learning Soldering
Soldering involves high heat, fumes, sharp leads, and potentially hazardous materials. Work in a well-ventilated area, keep the hot iron in a stable holder, and avoid touching the tip or recently soldered parts.
Useful precautions include:
- Keep flammable materials away from the work area.
- Use eye protection when cutting component leads.
- Wash your hands after handling solder and flux.
- Avoid breathing smoke directly from the joint.
- Keep the iron cord positioned where it cannot be pulled down.
- Disconnect equipment from power before soldering or repairing it.
- Do not solder directly to batteries unless the battery and procedure are specifically designed for that work.
Solder and flux products vary, so follow the handling guidance supplied with the materials. A fume extractor or suitable ventilation can help reduce exposure to soldering fumes.
Frequently Asked Questions: How Long Does It Take To Learn Soldering
Can I learn soldering in one day?
You can learn the basic process in one day, especially if you practice on larger, simple connections. One day is usually not enough to become consistently skilled across different components and repair situations. Reliable results come from repeated practice and inspection.
Is soldering difficult for beginners?
Basic soldering is usually manageable for beginners, but precision work can be challenging. The most difficult parts are often controlling heat, keeping parts still, applying the right amount of solder, and recognizing whether a joint is truly reliable.
How often should I practice soldering?
Short, regular sessions are a practical approach. Practicing several times per week gives you more opportunities to reinforce technique than practicing once and waiting several weeks before trying again.
How long does it take to learn circuit-board soldering?
Simple through-hole circuit-board soldering may become comfortable after several practice sessions. Surface-mount work, board repair, and fine-pitch components generally require more time because the connections are smaller and less tolerant of excess heat or solder.
What should I practice soldering first?
Start with larger wires, terminals, or through-hole components on inexpensive practice materials. These provide enough space to see how the solder flows and make it easier to correct mistakes.
How do I know if a solder joint is good?
A good joint is secure, properly connected, and covered with a controlled amount of solder. It should not have an obvious gap, crack, loose component, or unintended connection to a neighboring pad. When in doubt, inspect it closely and correct it before using the circuit.
Final Takeaway
Most people can learn the basic mechanics of soldering in a few hours, but becoming consistently reliable usually takes several weeks of regular practice. The timeline depends on the type of work, the quality of the setup, and how often you practice.
Start with large, low-risk connections, focus on heating the joint rather than simply melting solder, and inspect every result. Once you can produce clean, repeatable joints and correct common mistakes safely, you have moved beyond the beginner stage—even if more advanced soldering techniques still require additional practice.

Scott Yarnell is a tool expert focused on practical guides, product research, and real-world tool performance to help readers make informed decisions.