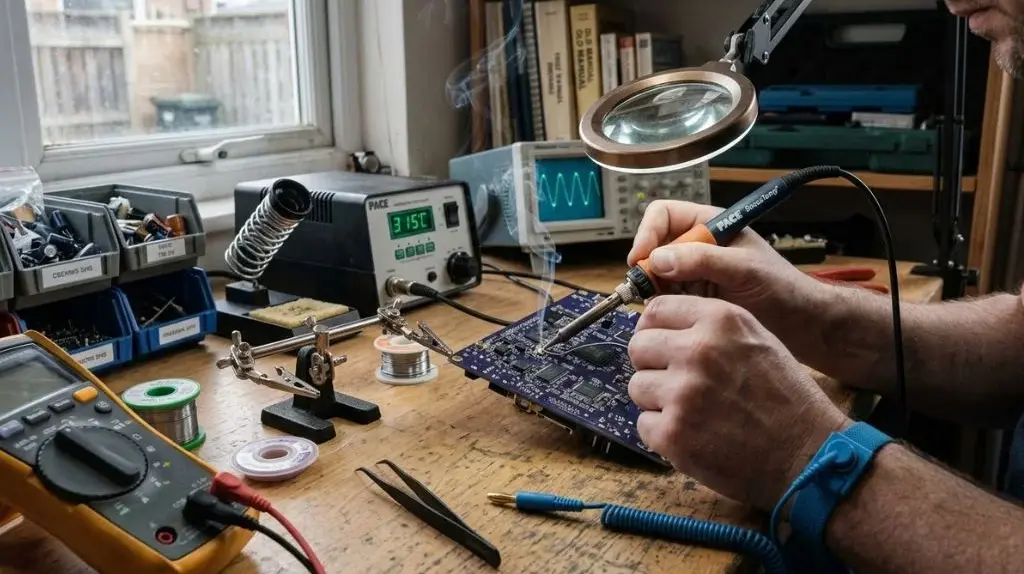
How Does A Soldering Iron Work: A Simple Guide
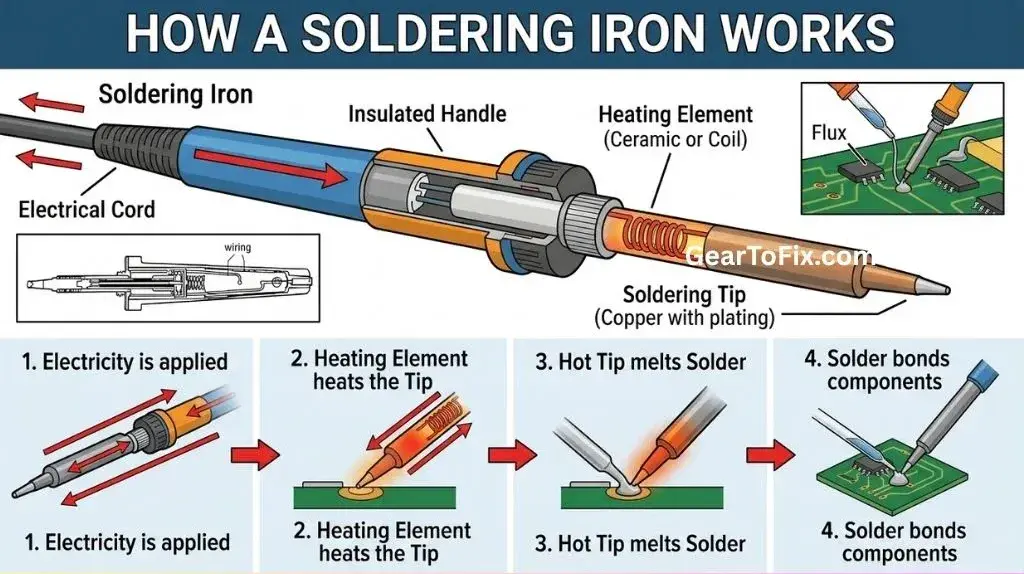
A soldering iron works by converting electrical energy into heat. A heating element raises the temperature of a metal tip, and the hot tip transfers heat to the parts being joined. When solder reaches its melting point, it flows between the surfaces and forms an electrical and mechanical connection as it cools.
The basic process is simple, but several parts work together to control heat, protect the tool, and produce a reliable joint. Understanding how a soldering iron works makes it easier to choose the right tool, use it correctly, and avoid common problems such as weak joints, damaged components, and oxidized tips.
The Basic Principle Behind a Soldering Iron
Most soldering irons use electrical resistance heating. Electricity passes through a material that resists the flow of current. That resistance produces heat, similar to the heating element in a toaster or electric space heater.
Inside the soldering iron, the heating element is positioned close to the metal tip. As the element becomes hot, heat travels through the tip. The tip then transfers that heat to the solder and the materials being joined.
The basic sequence is:
- Electrical energy enters the soldering iron.
- The heating element converts that energy into heat.
- Heat travels to the metal tip.
- The tip heats the workpieces and solder.
- The solder melts, flows, and bonds the surfaces.
- The solder cools and solidifies into a joint.
A soldering iron does not normally melt solder by using an open flame. It uses a controlled, electrically heated metal surface.
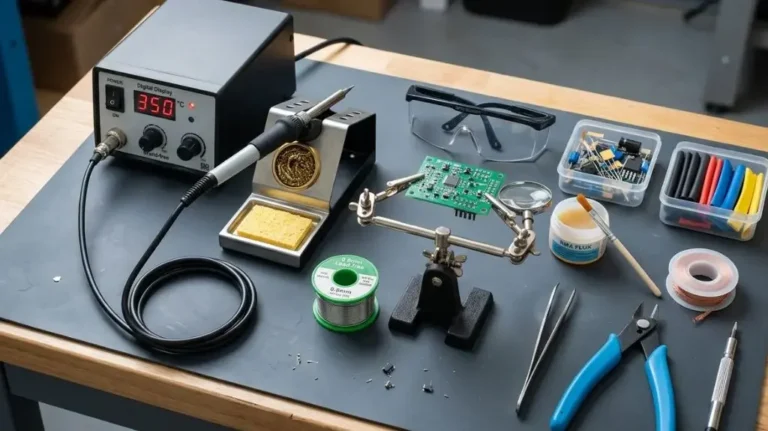
The Main Parts of a Soldering Iron
Although soldering irons vary in design, most contain the same basic components.
Heating Element
The heating element creates the heat needed for soldering. In many irons, it is a resistive element that becomes hot when electrical current passes through it.
The element may be located inside the handle near the tip or inside a replaceable cartridge that combines the heater, temperature sensor, and tip. The design affects how quickly the iron heats and how well it maintains temperature during use.
Soldering Tip
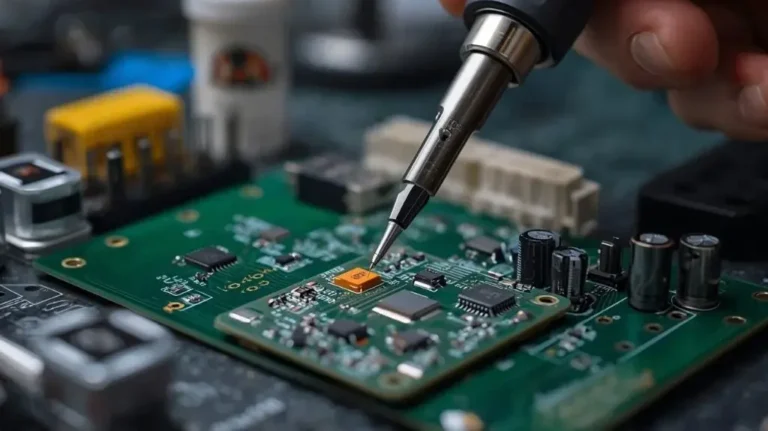
The tip is the part that contacts the solder and workpiece. It is usually made from a heat-conductive metal with a protective outer coating. The tip transfers heat from the heating element to the joint.
Tips come in different shapes and sizes, including:
- Fine pointed tips for small components and detailed work
- Conical tips for general-purpose soldering
- Chisel tips for transferring heat across wider surfaces
- Beveled tips for certain drag-soldering techniques
The tip shape affects heat transfer and access. A very fine tip can reach small spaces, but a slightly wider tip may transfer heat more effectively to a larger connection.
Handle and Insulation
The handle keeps the user’s hand away from the hot tip and internal electrical components. It is usually made from a material that resists heat and provides a secure grip.
The handle may also contain controls, indicator lights, or buttons. In cartridge-style irons, the handle holds the cartridge and electrical connections that supply power to the heating element.
Cord, Power Supply, or Battery
Traditional soldering irons receive power through a cord connected to an electrical outlet. Some models use a separate control station, while compact irons may use a rechargeable battery or another low-voltage power source.
The power system determines how the iron receives and regulates energy. Cordless designs can be convenient for field work, while corded or station-based irons may offer longer operating time and more consistent power.
Temperature Control System
Basic irons may heat to a largely fixed operating range. Temperature-controlled irons use a sensor and electronic control circuit to monitor the tip and adjust power to the heating element.
When the tip loses heat during soldering, the control system can supply more power. When the tip reaches the selected setting, the system reduces or interrupts power as needed.
This feedback process helps maintain a more stable temperature than a simple uncontrolled iron.
How a Temperature-Controlled Soldering Iron Works
A temperature-controlled soldering iron uses feedback to regulate heat.
A sensor measures the temperature near the tip or heating cartridge. The control circuit compares that measurement with the selected temperature. It then changes the power sent to the heating element.
The process generally works like this:
- The tip is below the selected temperature: The heater receives more power.
- The tip approaches the selected temperature: The controller reduces power or cycles it.
- The tip loses heat against a joint: The controller increases power to recover heat.
- The tip reaches the target again: The controller reduces power once more.
This does not mean the tip stays at exactly one temperature under every condition. Heat transfer depends on the size of the joint, the tip shape, the workpiece, contact time, and the iron’s ability to recover heat.
A temperature-controlled iron can still struggle if the joint draws heat away faster than the heater can replace it.
How Heat Moves From the Iron to the Joint
Heat must travel through several stages before the solder melts:
- From the heating element to the tip
- Through the tip’s outer surface
- Into the metal surfaces being joined
- Into the solder
The quality of this heat transfer depends on contact area, cleanliness, tip condition, and the thermal mass of the workpiece.
Thermal mass refers to how much heat an object requires to change temperature. A large metal connector, thick wire, or broad circuit-board ground area has more thermal mass than a small component lead. It may therefore require more effective heat transfer.
This is why pressing a tiny pointed tip against a large connection does not always work well. The tip may be hot, but its small contact area cannot transfer enough heat quickly.
A properly sized tip usually transfers heat more efficiently than simply increasing the iron’s temperature.
What Happens When Solder Melts?
Solder is a metal alloy designed to melt at a lower temperature than the materials it joins. When the heated tip brings the joint and solder to the required temperature, the solder changes from a solid to a liquid.
Liquid solder flows across the heated surfaces. On clean, properly prepared metal, it can spread along the connection instead of remaining in a bead.
As the solder cools, it solidifies and creates:
- An electrical path between conductive surfaces
- A mechanical connection that holds the parts together
- A protective layer over the joined area
The solder itself should not be expected to compensate for dirty, poorly aligned, or insufficiently heated surfaces. A strong joint depends on heating the parts being joined, not just melting solder against the tip.
Why Flux Is Used With Solder
Flux helps solder spread across metal surfaces. It removes or disrupts surface oxides and improves the solder’s ability to wet the joint.
Wetting occurs when molten solder spreads over a surface instead of pulling into a rounded ball. Good wetting allows the solder to make broad contact with the materials being joined.
Flux is commonly included inside the core of certain solder wires or applied separately. Different flux types have different cleaning and residue characteristics. Some residues may be relatively mild, while others may need to be cleaned after soldering.
Flux does not replace proper heating. If the joint is too cold, solder may remain lumpy or fail to spread even when flux is present.
The Role of the Tip’s Surface
A soldering tip needs to transfer heat efficiently while resisting corrosion and oxidation. The working surface is commonly coated to protect the tip and help solder flow across it.
A small amount of molten solder on a clean tip can improve heat transfer between the tip and the workpiece. This is often called tinning the tip. A tinned tip has a thin layer of solder covering the working area rather than a dry, dull surface.
A tip may perform poorly when it is:
- Covered with heavy oxidation
- Contaminated with residue
- Worn through to its internal material
- Too small for the joint
- Used without appropriate care
The tip should not normally be filed or aggressively scraped, because removing its protective coating can shorten its useful life.
How to Use a Soldering Iron Correctly
The exact procedure varies with the workpiece and solder type, but the general method is consistent.
1. Prepare the Work Area
Place the iron in a stable stand and clear away materials that could be damaged by heat. Secure the parts so they do not move while the solder is cooling.
Use ventilation appropriate for the solder and flux being used. Avoid placing your face directly over the work because soldering can produce irritating fumes.
2. Heat the Iron
Allow the iron to reach its operating temperature. If the tip is dirty or oxidized, clean it using a method suitable for that tip and apply a small amount of solder to refresh its surface.
Do not leave the hot tip resting against the workbench or other objects.
3. Heat the Joint
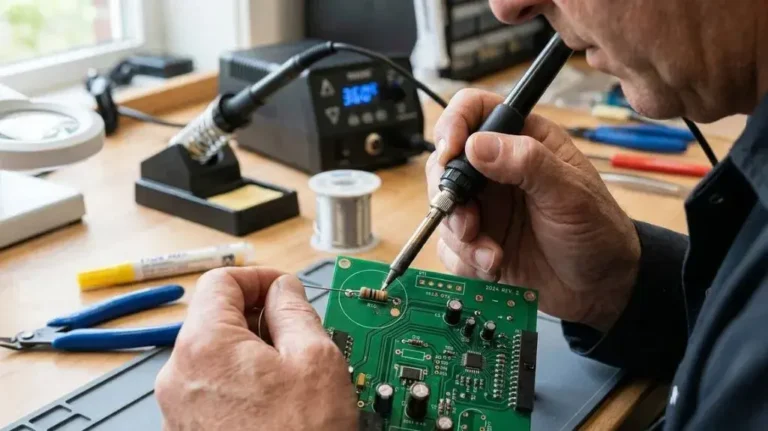
Place the tip so it contacts both surfaces that need to be joined. The goal is to heat the parts together rather than melting solder only on the tip.
For a wire-to-terminal connection, the tip may need to contact both the wire and terminal. For a circuit-board connection, it should generally contact the pad and component lead.
4. Apply Solder to the Heated Joint
Once the joint is hot enough, touch solder to the joint near the tip. If the surfaces are at the right temperature and are clean, the solder should melt and flow around the connection.
If solder melts immediately on the tip but refuses to flow onto the joint, the workpiece may not be hot enough, the surface may be contaminated, or the tip may not be making adequate contact.
5. Remove Solder and Then the Iron
Stop feeding solder when the joint is adequately covered. Remove the solder first, followed by the iron, while keeping the parts still.
Moving the connection before the solder solidifies can produce a weak or rough joint.
6. Inspect the Connection
A good joint should hold the parts securely and provide continuous electrical contact. The exact appearance varies with solder type, surface finish, and application, so appearance alone is not always a reliable test.
Look for obvious problems such as:
- Solder that has not reached both surfaces
- Cracks or movement in the connection
- Excess solder bridging neighboring contacts
- Burned insulation or damaged circuit-board material
- A loose wire or component
Why Soldering Irons Have Different Power Levels
A soldering iron’s power describes how much electrical energy it can use over time. More power can help an iron recover heat when it contacts a large or heat-absorbing workpiece, but power alone does not determine performance.
A lower-powered iron may be suitable for small electronic connections. A higher-powered or temperature-controlled tool may be more appropriate for larger wires, connectors, or metal surfaces that draw heat away quickly.
The useful choice depends on several factors:
- Size and thermal mass of the joint
- Type and thickness of the materials
- Required precision
- Tip size and shape
- Temperature-control capability
- How quickly the tool must recover heat
- Whether the work is delicate or heat-sensitive
A high-power iron with poor control can damage small components. A low-power iron may require excessive contact time on a large joint. Matching the tool and tip to the work is usually more important than choosing the highest available power.
Common Soldering Iron Problems
The Solder Does Not Melt Properly
Possible causes include:
- The iron has not reached operating temperature
- The tip is heavily oxidized
- The tip is too small for the joint
- The workpiece is drawing away too much heat
- The solder is not contacting the heated area
- The power supply or heating element has a problem
First check whether the tip is heating normally. If it is hot but cannot transfer heat effectively, inspect its condition and size before increasing the temperature.
Solder Melts on the Tip but Not on the Joint
This usually indicates that the tip is hotter than the workpiece. The tip may be touching only one surface, or the joint may have too much thermal mass for the current setup.
Improve contact between the tip and both surfaces. A more suitable tip shape may also provide better heat transfer.
The Solder Forms a Ball
Solder may ball up when the surfaces are oxidized, contaminated, or not hot enough. Insufficient flux can contribute to poor wetting as well.
Clean and prepare the surfaces, heat the joint rather than only the solder, and use compatible solder and flux.
The Tip Turns Dark or Does Not Accept Solder
A darkened tip may have oxidized, overheated, or accumulated residue. Repeatedly running an iron with a dry tip can accelerate oxidation and reduce heat transfer.
Refreshing the surface may help if the tip is still intact. If the protective coating has worn away, replacement is often more practical than aggressive cleaning.
The Joint Looks Dull or Rough
A rough-looking joint can result from movement while the solder was cooling, inadequate heating, contamination, or an unsuitable soldering technique. Appearance must be interpreted in context because different solder compositions can produce different finishes.
The connection should be checked for mechanical stability and electrical continuity when reliability matters.
Important Safety Precautions
A soldering iron combines high heat with electricity, so basic precautions are necessary.
- Place the iron in a stable stand whenever it is not in your hand.
- Keep the hot tip away from skin, cords, plastic, and flammable materials.
- Work in a ventilated area appropriate for the solder and flux.
- Wash your hands after handling solder and flux, especially before eating.
- Avoid touching soldering fumes directly.
- Inspect the cord, plug, and handle for damage before use.
- Disconnect the tool when finished if it does not have an automatic shutoff.
- Keep children and pets away from the work area.
- Use eye protection when there is a risk of solder splatter or clipped wire ends.
- Do not modify the iron’s electrical or heating system unless the design specifically supports the modification.
The tip can remain hot after the tool is switched off, so allow adequate cooling time before storage or changing a tip.
Frequently Asked Questions Of How Does A Soldering Iron Work
Does a soldering iron melt the metal parts being joined?
Usually, no. The iron melts the solder, which has a lower melting point than the metal parts commonly being connected. The workpieces become hot enough for the solder to flow over them, but they normally remain solid.
How hot does a soldering iron get?
The operating temperature varies by iron design, control setting, solder type, tip condition, and application. Some irons have fixed heating behavior, while temperature-controlled models allow the user to select a working range. The manufacturer’s instructions should be used for model-specific settings.
Why does solder need to be applied to the joint instead of only to the tip?
Applying solder to the joint helps confirm that both surfaces are hot enough for the solder to flow and wet them. Melting solder only on the tip can leave the actual connection too cool, producing a weak or incomplete joint.
Can a soldering iron overheat?
Yes. An iron can overheat if it lacks effective temperature control, has a faulty control system, is used incorrectly, or is left operating under unsuitable conditions. Excessive heat can oxidize the tip, damage insulation, lift circuit-board pads, or harm nearby components.
What is the difference between a soldering iron and a soldering station?
A soldering iron is the heated tool itself, while a soldering station generally includes the iron, a separate control unit, and often a stand or accessories. A station may provide more precise temperature adjustment and monitoring, depending on its design.
How long does a soldering iron tip last?
Tip life depends on temperature, solder and flux type, cleaning practices, use frequency, and whether the tip’s protective coating is damaged. Keeping the tip clean, properly tinned, and used at an appropriate temperature can help extend its service life.
Final Takeaway
A soldering iron works by using electrical resistance to heat a metal tip. That tip transfers heat to the parts being joined, allowing solder to melt, flow across clean surfaces, and solidify into an electrical and mechanical connection.
Reliable soldering depends on more than simply making the iron hot. The tip must be suitable and clean, the joint must receive enough heat, flux must support wetting, and the parts must remain still while the solder cools. Using the right tip, temperature control, and safety practices makes the process more predictable and helps prevent damaged components and weak connections.

Scott Yarnell is a tool expert focused on practical guides, product research, and real-world tool performance to help readers make informed decisions.