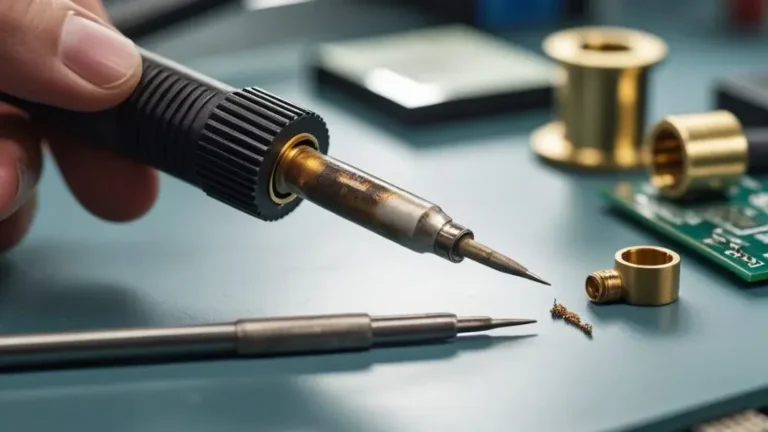

Why Is My Soldering Iron Not Heating: Easy Fixes
Few things are more frustrating than setting up your workspace, plugging in your tools, and realizing your progress has ground to a halt. If you are asking yourself, “Why Is My Soldering Iron Not Heating?” the issue usually boils down to a few common hardware failures or maintenance oversights.
When a soldering iron refuses to get hot, the problem is typically caused by a failed heating element, severe tip oxidation, a broken power connection, or a faulty temperature controller.
Understanding how to isolate these issues can save you from unnecessarily throwing away a salvageable tool or struggling with a failing device. This guide explains how to identify the cause of the problem and get your iron back to working temperature.
Quick Diagnosis: Why Your Soldering Iron Stays Cold
Before taking your tool apart, look at how it behaves when turned on. Use the table below to match your symptoms with the most likely cause and the necessary fix.
| Symptom | Likely Cause | What to Check / How to Fix |
|---|---|---|
| The iron remains completely cold; status lights (if any) are off. | No power supply or a broken power cord. | Check the outlet, inspect the cable for frays, or check the fuse on a soldering station. |
| Power lights are on, but the metal barrel remains entirely cold. | Burnt-out or fractured heating element. | Test the element’s resistance with a multimeter; replace the element if it is open-circuit. |
| The barrel gets hot, but the tip cannot melt solder. | Severe tip oxidation or loose tip installation. | Clean and tin the tip; tighten the retaining collar to ensure proper contact with the element. |
| Digital screen displays “Err”, “S-E”, or “Fail”. | Sensor error or bad connection to the tip. | Re-seat the soldering tip (for cartridge-style irons) or replace the internal thermocouple. |
| The iron heats up slightly but cannot reach working temperature. | Degraded heating element or low-voltage power supply issue. | Ensure the power source matches the iron’s requirements; replace the aging element. |
The Most Common Reasons a Soldering Iron Won’t Heat
A soldering iron is a relatively simple tool. It relies on electrical resistance to convert current into heat, which is then transferred to a copper or iron-plated tip. If any part of this thermal path is broken, the iron will not reach working temperature.
1. A Burnt-Out Heating Element
The heating element is the core of the iron. Inside, a resistive wire (like nichrome) or a ceramic heater generates heat when current flows through it. Over time, thermal expansion, contraction, and high operating temperatures wear this element down until it eventually breaks.
Ceramic elements are also highly fragile. If you drop your soldering iron or tap it hard against a stand to clear solder, the ceramic core inside can fracture. Once the internal circuit is broken, current cannot flow, and the iron will remain completely cold.
2. Heavy Tip Oxidation (The Heat Blockade)
Sometimes, the heating element works perfectly, but the heat cannot reach your solder. This happens when the tip becomes heavily oxidized.
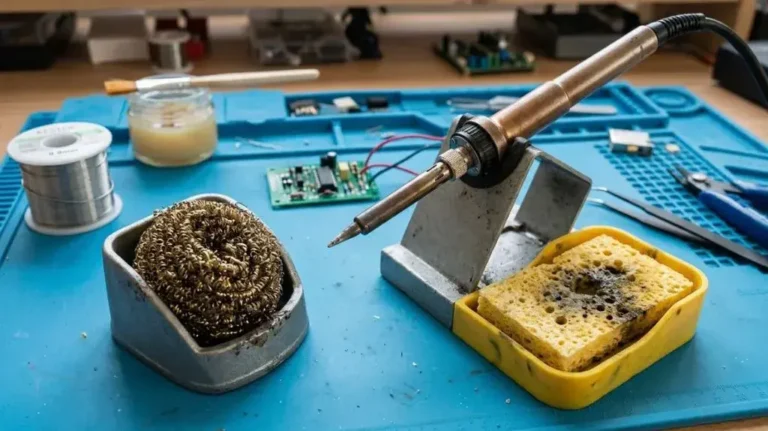
When a soldering tip is left hot without a protective layer of solder (a process called tinning), oxygen reacts with the metal to form a dark, crusty layer of iron oxide. This oxide layer acts as an extremely effective thermal insulator. The iron itself may be scorching hot underneath, but the tip will not transfer that heat to your workpiece or solder.
3. Poor Tip Contact or Loose Retaining Collar
For traditional soldering irons, the tip slides over or into the heating element and is secured by a metal sleeve, collar, or set screw. If this connection becomes loose, an air gap forms between the element and the tip.
Air is a poor conductor of heat. Even a tiny gap can prevent the tip from reaching the temperature set on your dial. On modern cartridge-style irons (where the heating element is built directly into the disposable tip), dirty or bent contact pins inside the handle can prevent the iron from powering the tip.
4. Damaged Power Cable or Strain Relief
Soldering irons are constantly moved, twisted, and stored. This frequent motion puts stress on the power cable, particularly where the wire enters the handle (the strain relief). If the copper wires inside the cord fray or break, the circuit will open. This is a common failure point for budget irons that use stiff, low-quality plastic cords instead of flexible silicone cables.
5. Faulty Temperature Control or Blown Fuse
If you are using a soldering station rather than a direct wall-plug iron, the station’s internal control board regulates the temperature. A blown fuse on the back of the station, a failed triac (an electronic component that controls AC power), or a broken control dial can cut power to the handpiece entirely.

How to Test a Soldering Iron Heating Element with a Multimeter
If your iron is getting power but won’t heat up, you can easily verify if the heating element is broken by checking its electrical resistance.
Step 1: Safety First
Unplug the soldering iron from the wall or station. Let it cool down completely to room temperature before handling or disassembling.
Step 2: Access the Heating Element Terminals
Depending on your iron, you may need to unscrew the handle casing or the metal collar to locate the wires leading to the heating element. On soldering stations, you can often test directly through the pins of the connector plug that plugs into the main base.
Step 3: Set Your Multimeter to Resistance
Turn your multimeter dial to the lowest Ohms ($\Omega$) setting (typically $200\Omega$ or $2k\Omega$).
Step 4: Measure the Resistance
Touch the multimeter probes to the two terminal leads of the heating element (or the corresponding power pins on the handpiece plug).
- Healthy Element: You should see a stable resistance reading. Depending on the wattage and voltage of your iron, this typically ranges from $10\Omega$ to a few hundred ohms.
- Broken Element: If the multimeter displays “OL” (Open Loop) or infinite resistance, the heating element wire is broken inside and must be replaced.
Step 5: Test the Thermocouple (If Applicable)
Adjustable-temperature irons also contain a sensor called a thermocouple to monitor heat. Locate the sensor wires (usually thinner than the heater wires) and test them. An open circuit reading here will also prevent the controller from sending power to the iron.
Safety Precautions During Troubleshooting
Working with heating devices and mains electricity requires caution. Keep these safety practices in mind:
- Never test an open iron while plugged in: Always disconnect the tool from the power source before disassembling any part of the housing.
- Avoid hot testing without a stand: If you suspect the iron is heating intermittently, never test the tip with your bare fingers. Use a damp solder sponge or touch a piece of solder to the tip to see if it melts.
- Inspect the cord for burns: It is easy to accidentally burn the power cord with the hot tip during active projects. If you find any exposed copper or melted insulation, stop using the iron immediately and replace the cord.
When to Repair vs. When to Replace Your Soldering Iron
If your troubleshooting points to a specific failure, you have to decide whether to fix the tool or buy a new one.
- Replace the Tip: If the iron heats up but won’t melt solder, and the tip is blackened, a simple tip cleaner, wire brass sponge, or tip tinner can restore it. If the plating is physically eaten away, buying a new tip is a cheap and easy fix.
- Replace the Heating Element: For mid-range to high-end soldering stations, manufacturers sell replacement heating elements for a fraction of the cost of a new station. Replacing a ceramic heater usually takes only a few minutes of basic assembly.
- Replace the Entire Iron: For cheap, direct-to-wall utility irons, the cost of a replacement element often exceeds the value of the tool. If a budget iron suffers a broken element or damaged internal wiring, replacing the entire unit with a higher-quality iron is generally the safest and most sensible option.
FAQs About Why Is My Soldering Iron Not Heating
How do I know if my soldering iron heating element is blown?
If your soldering iron is plugged in, the status lights are on, but the metal barrel remains completely cold to the touch after several minutes, the heating element is likely blown. You can confirm this by checking for infinite resistance (an open circuit) using a multimeter.
Can a dirty tip make it seem like the iron isn’t heating?
Yes. Heavy oxidation creates a dark barrier of iron oxide that blocks heat transfer. The internal heater may be working perfectly, but the heat cannot escape to melt your solder, making the iron appear cold or weak.
Why is my soldering station showing an “Err” or “S-E” message?
These codes usually stand for “Error” or “Sensor Error.” They indicate that the control base cannot read the temperature sensor (thermocouple) inside the handpiece. This is often caused by a loose cartridge tip, a broken connection wire inside the cable, or a failed sensor.
How long does a soldering iron heating element typically last?
In a hobbyist environment, a high-quality heating element can last for years of regular use. However, running the iron at maximum temperature (above $400^\circ\text{C}$ or $750^\circ\text{F}$) for long periods, leaving it on idle for hours, or dropping the tool can cause premature failure.
Final Takeaway
When your soldering iron stops heating, do not immediately assume it is ruined. Begin by checking the simplest variables: make sure the power source is active, ensure the tip is clean and tightly secured, and look for physical signs of wear on the power cord. If the iron remains cold despite these checks, use a multimeter to verify if the heating element is broken. By identifying the specific point of failure, you can easily determine whether a quick tip cleaning, a cheap heating element replacement, or a new tool is the best way forward.

Scott Yarnell is a tool expert focused on practical guides, product research, and real-world tool performance to help readers make informed decisions.