How To Store A Soldering Iron: Easy Guide
Leaving a soldering iron on a workbench or tossing it into a drawer without proper preparation is one of the fastest ways to ruin its tip. Over time, exposure to air, moisture, and leftover flux residues causes oxidation. An oxidized tip cannot transfer heat efficiently, rejects solder, and eventually becomes completely unusable.
Knowing how to store a soldering iron correctly whether you are pausing for a ten-minute break or packing your tools away for months—will dramatically extend the lifespan of your heating element and tips, saving you time and money on replacements.
The Golden Rule of Soldering Iron Storage
The most important step before storing a soldering iron is to tin the tip. Tinning involves applying a fresh, generous layer of solder to the tip right before turning the iron off.
This layer of solder acts as a physical barrier, sealing the iron’s copper core (and its protective iron/chrome plating) away from oxygen. Without this protective coating, the hot metal reacts with oxygen in the air, creating a dark layer of iron oxide that blocks heat transfer.
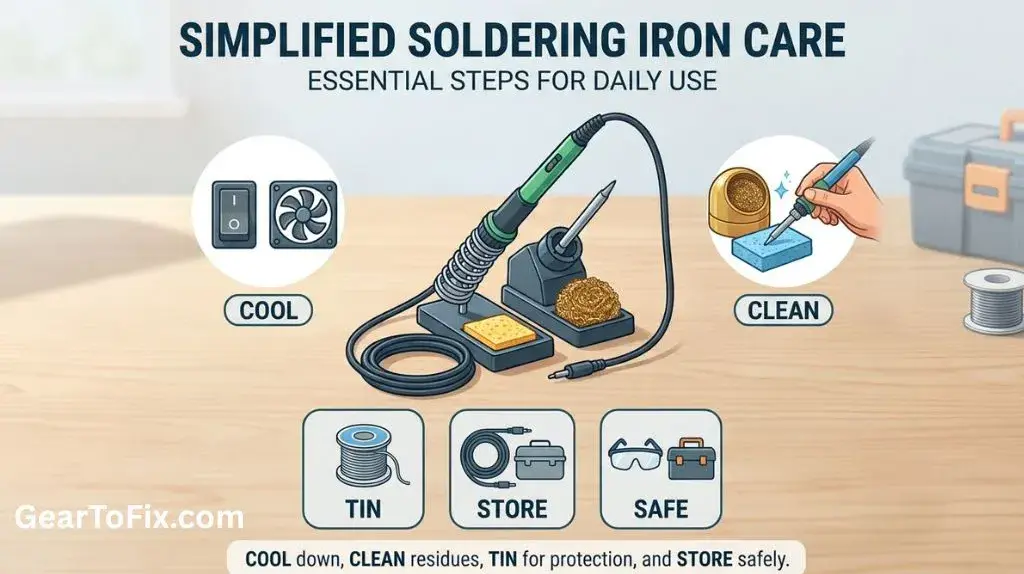
Always clean the tip, apply fresh solder, turn off the iron, and let it cool naturally before placing it in its storage location.
Step-by-Step: How to Store a Soldering Iron
Whether you use a basic fixed-temperature pencil iron or a high-end digital soldering station, the preparation process remains the same. Follow these steps to ensure your iron is protected every time you finish a project.
1. Clean the Tip Thoroughly
Before putting the iron away, remove any burnt flux, carbon buildup, and old, oxidized solder.
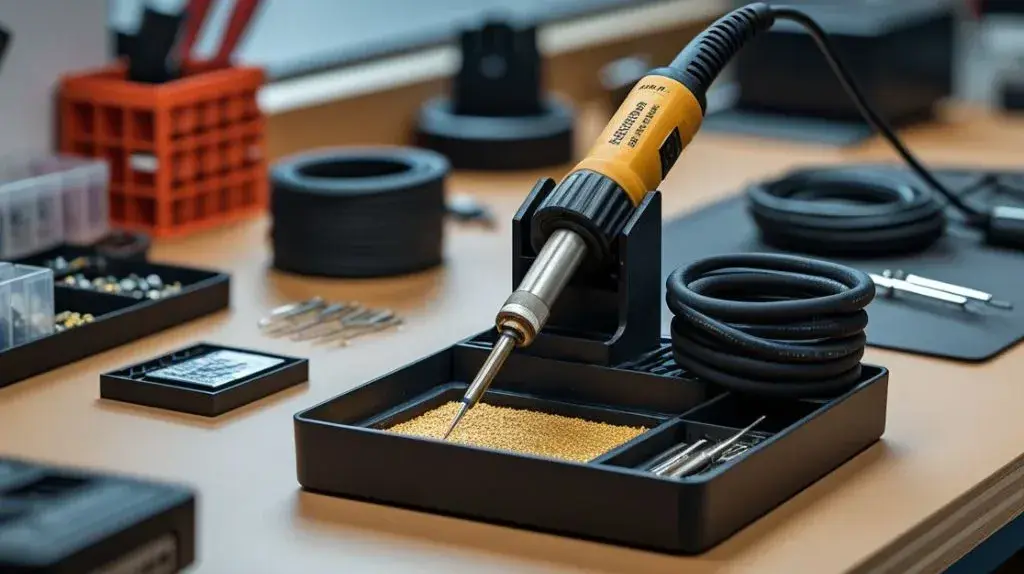
- Best Method: Use a brass wire tip cleaner. Gently plunge the hot tip into the brass coils a few times. Brass is softer than the iron plating on the tip, so it removes debris without causing abrasive damage.
- Alternative Method: Gently wipe the tip across a damp cellulose sponge. Avoid using a dripping wet sponge, as the sudden temperature drop can crack the internal ceramic heating element.
2. Apply a Fresh Layer of Solder (Tinning)
Once the tip is clean, immediately apply a generous amount of fresh, rosin-core solder to the entire working surface of the tip.
- The solder should melt and flow smoothly, coating the entire active area.
- Do not shake or wipe this solder off. Leave it thick and fully covering the tip.
3. Switch Off the Power
Turn off the soldering station or unplug the iron from the wall. Let the iron sit in its safety stand.
- Do not try to speed up the cooling process by dipping the tip in water or placing it in front of a fan. Rapid thermal shock can permanently warp the metal or shatter the heating element.
- Allow the iron to cool to room temperature naturally, which typically takes 10 to 15 minutes.
4. Secure the Cord
Once the iron is completely cold to the touch, inspect the power cable.
- Loosely coil the cord in wide loops.
- Never wrap the cord tightly around the body of the iron. Tight wrapping creates sharp bends near the strain relief boot, which can break the copper wires inside the insulation over time and create an electrical hazard.
5. Place in a Protective Container
Store the cooled, tinned iron in a clean, dry location. If your iron came with a hard plastic case, a protective cap, or a zippered pouch, use it. This prevents dust, moisture, and other workshop tools from scratching the delicate tip plating.
Short-Term vs. Long-Term Storage
How you handle your soldering iron depends heavily on how soon you plan to use it again.
| Storage Type | Timeframe | Best Location | Tip Preparation | Cord Management |
|---|---|---|---|---|
| Short-Term (Breaks) | 5 minutes to 2 hours | Heavy-duty safety stand | Lower the temperature (if adjustable); apply a light coat of solder. | Leave plugged in (or on standby/sleep mode). |
| Medium-Term | Overnight to a few weeks | Tool drawer or workbench organizer | Clean thoroughly; apply a thick coat of solder; allow to cool completely. | Coiled loosely; kept away from heavy hand tools. |
| Long-Term | Months to years | Sealed plastic tool case or storage bin with desiccant | Clean thoroughly; apply a heavy coat of solder; apply a light film of anti-corrosion oil to non-plated metal parts. | Coiled loosely and secured with a hook-and-loop strap. |
Managing Your Storage Environment
Moisture is the ultimate enemy of stored soldering equipment. If you store your tools in an unheated garage, a damp basement, or an outdoor shed, temperature fluctuations will cause condensation to form on the cold metal. This leads to rust on the iron’s barrel, screw threads, and tip.
To prevent environmental damage during long-term storage:
- Use airtight containers: Store the cooled soldering iron in a sealable plastic toolbox or a heavy-duty storage bag.
- Add silica gel packets: Toss one or two silica gel packets into the storage container to absorb any lingering ambient moisture.
- Protect the barrel threads: If your iron uses a screw-on collar to hold the tip in place, consider applying a tiny drop of high-temperature anti-seize lubricant to the threads before storing it for several months. This prevents the collar from seizing due to microscopic rust.
Common Storage Mistakes to Avoid
- Wiping the tip clean right before turning the power off: This is a very common beginner mistake. Wiping the tip clean leaves the bare metal exposed to the air. As the iron cools down, the hot, bare metal oxidizes rapidly, making it incredibly difficult to melt solder the next time you turn it on. Always leave solder on the tip.
- Storing the iron in a stand permanently: While safety stands are great for active projects, they leave the iron exposed to workshop dust, humidity, and accidental bumps. Once the iron is cold, move it to a drawer or box.
- Using plumbing flux before storage: Never use acid-core or plumbing flux on an electronics soldering iron. Acid flux is highly corrosive and will eat away the protective iron plating on your tip while it sits in storage. Only use rosin-core or mild synthetic electronic fluxes.
- Using sandpaper or files to clean a tip before storage: Sandpaper, steel wool, and metal files destroy the microscopic iron cladding on the copper core. Once this cladding is scratched or removed, the copper underneath will quickly dissolve into the solder, destroying the tip’s shape and heat-carrying capability.
Frequently Asked Questions
1. How should I store a soldering iron after use?
Allow it to cool safely, keep it in a suitable heat-resistant stand or storage area, and protect the tip from damage and contamination.
2. Should a soldering iron be cooled before storage?
Yes. Unless the manufacturer’s instructions specify otherwise, allow the iron to cool to a safe temperature before placing it in enclosed or non-heat-resistant storage.
3. Should I tin the soldering iron tip before storing it?
A light coating of solder can help protect the working surface from oxidation during storage.
4. How should I store the soldering iron power cord?
Keep the cord loosely organized without sharp bends, tight knots, or excessive strain around the plug or connection point.
5. Where is the best place to store a soldering iron?
Store it in a dry, clean location away from moisture, flammable materials, excessive dust, and areas where the tip or cord could be damaged.
6. Can improper storage damage a soldering iron tip?
Yes. Moisture, contamination, impact, excessive oxidation, and contact with abrasive materials can shorten the useful life of the tip.
Conclusion
Taking less than a minute to properly prep your soldering iron before putting it away will save you hours of frustration on your next project. By cleaning the tip, applying a thick protective coat of solder (tinning), letting the iron cool naturally, and keeping the cord coiled loosely in a dry, dust-free environment, you ensure your tool remains reliable, precise, and ready to work the moment you plug it back in.

Scott Yarnell is a tool expert focused on practical guides, product research, and real-world tool performance to help readers make informed decisions.