Soldering Iron vs Soldering Gun: Key Differences
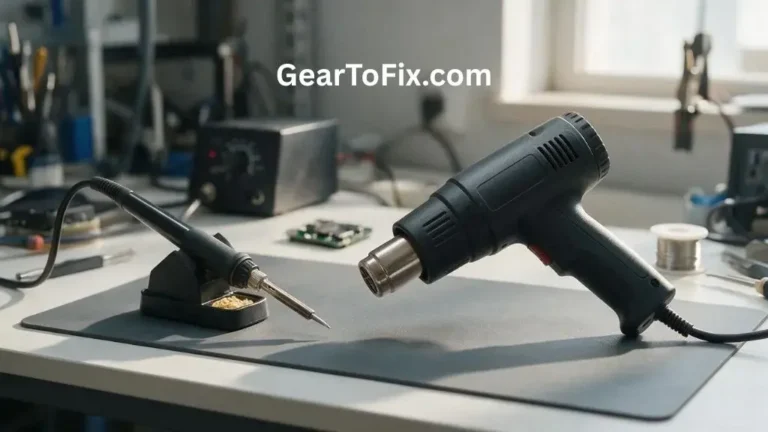
Choosing between a Soldering Iron vs Soldering Gun can be confusing for your bench setup. After weeks of soldering real joints, I know how each tool behaves. They have different heat-up times, grip styles, and power levels.
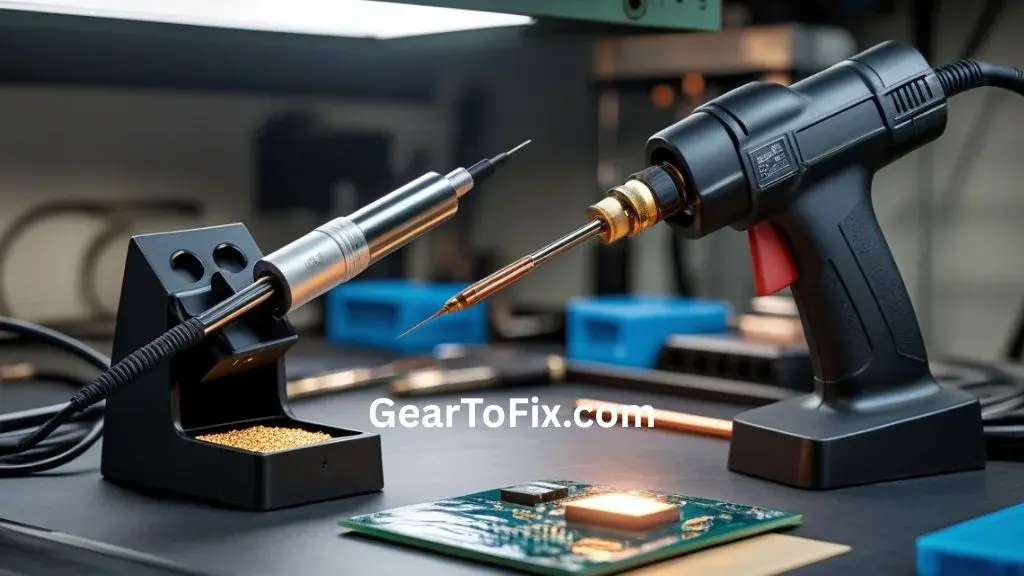
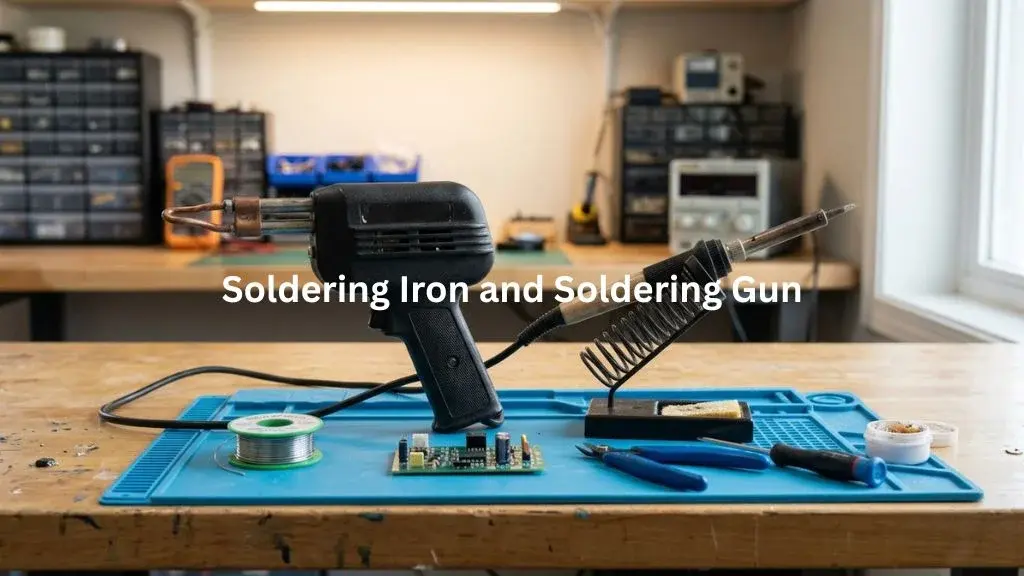
Product 1 is a light, pencil-style iron for fine repairs. Product 2 is a heavy, pistol-grip gun for fast, high-heat jobs. This honest guide will help you pick the best tool for your budget and skill level.
Side-by-Side Specs Comparison
Here is a quick look at the main specifications of both tools. This table shows the key differences in weight, wattage, and heat-up time.
| Feature | Product 1 (Basic Iron) | Product 2 (Soldering Gun) |
|---|---|---|
| Price | Low | Medium |
| Wattage | 40W | 150W |
| Heat-Up Time | 3 minutes | 5 seconds |
| Tip Type | Pointed copper | Thick wire loop |
| Cord Length | 4.5 feet | 5.0 feet |
| Weight | 3.5 ounces | 1.8 pounds |
| Warranty Coverage | 1 Year | 1 Year |
These numbers show that one tool is built for speed, while the other is made for lighter tasks. Let us look at how they feel when you first open them.
Unboxing and First Impressions
Product 1 came in a simple blister pack. It felt very light in my hand, almost like a fat pen. There was a slight chemical smell when I first plugged it in, which is normal for a cheap heating element. The power cord felt quite stiff and kept trying to twist the iron out of its small metal stand.
Product 2 arrived in a sturdy cardboard box. It was much heavier than I expected. The heavy plastic body felt solid but bulky. When I pulled the trigger switch, the built-in worklight turned on instantly. There was no chemical smell, just a quick click and almost instant heat at the tip.
Build Quality and Components
The construction of your tools affects how long they last. Here is my honest breakdown of the materials used in both products after weeks of daily use.
Housing and Grip Material
Product 1 uses a hard plastic grip with a small rubber sleeve. It is decent, but it gets warm after thirty minutes of use. Product 2 has a heavy-duty, pistol-grip housing. It stays completely cool because the heat is focused only at the tip.
Tip Quality
The tip on Product 1 is plated copper, which suffered from quick tip oxidation. I had to clean and perform re-tinning often to keep it shiny. Product 2 uses a thick wire loop tip that resists buildup but is far too bulky for small boards.
Heating Element Type
Product 1 relies on an internal ceramic heater that slowly warms the shaft. Product 2 uses a heavy transformer that sends high current directly through the wire tip. This makes the gun hum slightly when you pull the trigger.
Cord and Cable Durability
The cord on Product 1 is thin and stiff, which often fights your hand during delicate work. Product 2 has a much thicker, heavy-duty cord. It is stiff too, but the heavy weight of the gun keeps it from moving around.
Ease of Use and Handling
Getting a feel for these tools takes some time. Your bench setup and comfort depend heavily on how each tool handles during a long project.
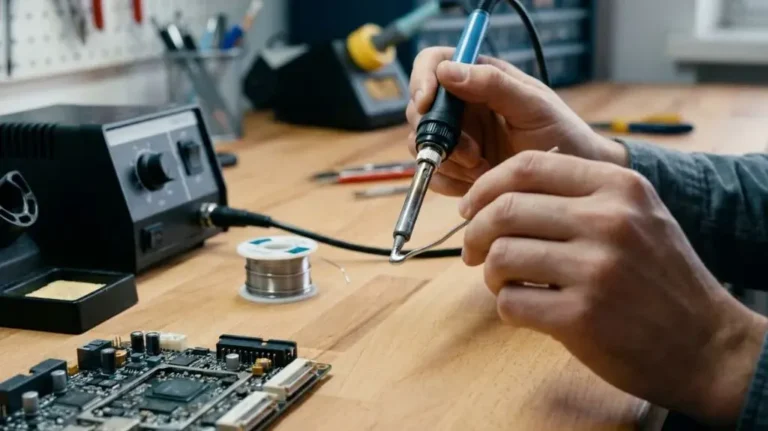
Product 1 is very easy to use for simple repairs. The pen-style grip lets you hold it close to the joint. This gives you great control when working on small circuit boards. However, the stiff cord can pull the lightweight iron off balance if your stand is too light. I almost burned my finger once when the iron tipped over.
Product 2 feels very different due to its pistol grip. It is heavy and can make your wrist tired after a few minutes. Precision is difficult because the tip is far from your hand. It is not beginner friendly for small electronics, but it is great for big wire splices.
Performance and Reliability Over Time
I used both tools on several real projects over three weeks. Here is how they held up under repeated daily use at my bench.
Product 1 started showing wear after the first week. The tip turned black and refused to take solder until I cleaned it thoroughly. Once re-tinned, it worked fine again, but temperature control remained a guessing game because of the fixed temperature.
Product 2 showed excellent long-term durability. The copper loop tip did not oxide easily because it only gets hot when you pull the trigger. It did not suffer from heat drift because it cools down the moment you let go of the switch.
Heat-Up Time and Temperature Stability
A stable temperature is key to avoiding cold joints. Here is how these tools compare when keeping their heat during active work.
Product 1 takes about three minutes to reach its working temperature. Once hot, it struggles to hold heat on larger metal parts. Solder would sometimes ball up instead of flowing smoothly because the tip cooled down too fast on heavy joints.
Product 2 heats up in just five seconds. The trigger switch gives you instant power when you need it. However, it has no real temperature control, so it can quickly overheat and damage delicate components if you hold the trigger too long.
Design and Build Comparison
Let us look at how these two designs compare in daily layout and bench usability. This table highlights their shape, footprint, and portability.
| Feature | Product 1 | Product 2 |
|---|---|---|
| Material | Lightweight plastic | Heavy-duty polymer |
| Grip Feel | Pen-style grip | Pistol-style grip |
| Label Clarity | None (fixed power) | Clear trigger switch |
| Portability | Very high | Low and bulky |
| Bench Footprint | Small stand needed | Sits on its side |
| Overall Feel | Simple and light | Heavy and powerful |
Product 1 takes up almost no space on your desk. Product 2 is large and bulky, but it does not need a special stand since it rests safely on its side.
Fumes and Ventilation — What You’ll Notice While Working
When using Product 1, you will notice a steady stream of fume and smoke. Because the iron stays hot constantly, the solder flux on the tip burns off slowly even when idle. This smell can quickly fill a small bedroom or apartment if you do not have good ventilation.
Product 2 produces a quick puff of heavy smoke only when you pull the trigger. Because it cools down instantly between joints, it creates less total fume buildup over a session. Still, the high heat can burn wire insulation quickly, leaving a strong odor that requires a fan.
Temperature Control and Precision
Precision is vital when working on modern circuit boards. Here is how both tools perform when you need exact heat for delicate tasks.
| Feature | Product 1 | Product 2 |
|---|---|---|
| Digital Precision | None (fixed heat) | None (trigger controlled) |
| Temp Range Usefulness | Low | Medium-High |
| Fine-Pitch Work | Good | Very Poor |
| Recovery Speed | Slow | Instant |
| Sleep/Idle Behavior | Stays hot | Cools instantly |
| Multi-Project Suitability | Light tasks only | Heavy wires only |
Neither tool offers a digital display or precise temperature control. Product 1 is far better for delicate jobs, while Product 2 relies on your trigger finger to manage heat.
Ease of Use and Daily Bench Routine
Your daily routine is smoother when your tools are easy to clean and store. This table compares how much effort it takes to work with each tool.
| Task | Product 1 | Product 2 |
|---|---|---|
| Setup and Power-On | Wait 3 minutes | Instant (5 seconds) |
| Cleanup After Use | Needs tip re-tinning | Simple wipe down |
| Storage Convenience | Easy (fits in drawer) | Bulky (needs shelf space) |
| Travel or Portable Use | Great for travel | Too heavy for light travel |
| Speed to Get to Work | Slow | Very Fast |
| Maintenance Needed | High tip cleaning | Low maintenance |
Product 1 fits easily into a drawer but requires constant tip cleaning. Product 2 is ready instantly but takes up a lot of space on a cluttered workbench.
Long-Term Performance and Durability
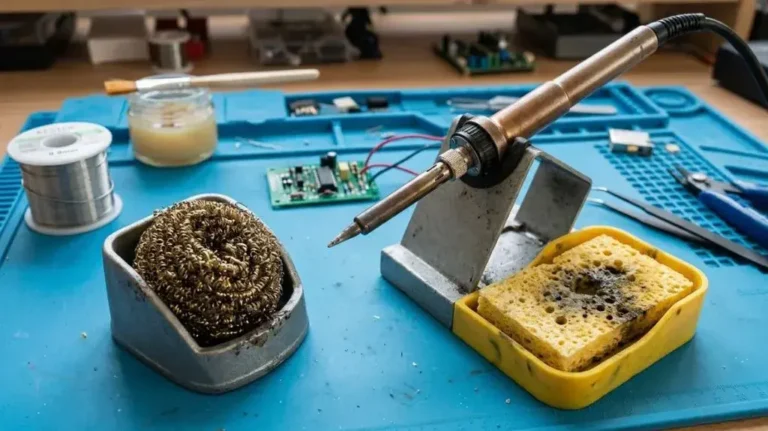
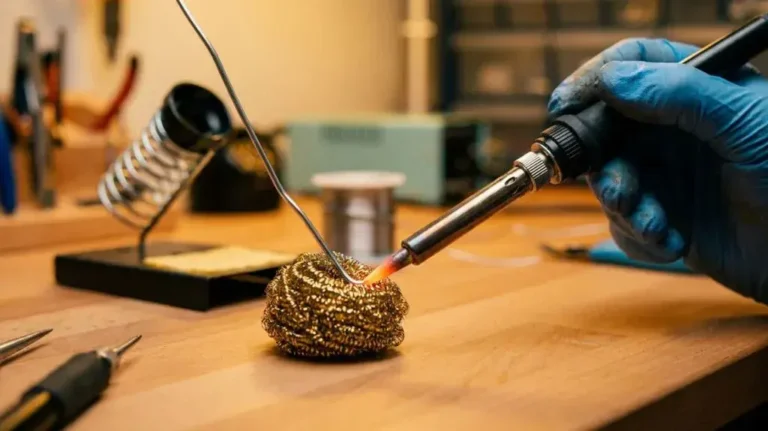
After weeks of use, Product 1 showed clear signs of age. The outer metal sleeve turned bronze from the constant heat. The tip required regular cleaning with a brass sponge to prevent total tip oxidation. It is still usable, but you must treat it gently to keep it working.
Product 2 proved to be highly durable over time. The heavy housing took a few accidental bumps without a scratch. The loop tip did not degrade much because it only stays hot for a few seconds at a time. It feels like a tool that will last for years without needing new parts.
Price and Value for Money
Cost is always a major factor when building your bench setup. Here is the real-world value you get from each option.
Product 1 is very cheap, often costing less than a couple of fast-food meals. It is a great budget option if you only do simple repairs once a year. However, its low price means you get cheap accessories and a stiff cord that can be frustrating to use.
Product 2 costs about twice as much as the basic iron, but it offers high wattage and instant heat. If you work on heavy automotive wiring or stained glass, the price is fully justified. It is a specialized tool that pays for itself on heavy-duty projects.
How It Compares to Similar Products
To give you a broader view, let us see how these tools compare to other common bench options.
Digital Soldering Station
A digital soldering station offers far better temperature control and recovery time than either tool. It is much more expensive but is the best choice for delicate electronics.
Portable USB Soldering Iron
A USB iron offers better cord flexibility and is more beginner friendly than a heavy gun. However, it lacks the raw power of a soldering gun for heavy joints.
Who Should Buy Which?
To make your choice easier, here is a quick guide based on project types and skill levels.
| Project Type | Product 1 (Basic Iron) | Product 2 (Soldering Gun) |
|---|---|---|
| Circuit Boards | Recommended | Not Recommended |
| Heavy Wire Splices | Not Recommended | Recommended |
| Stained Glass | Poor | Good |
| Small Toy Repairs | Good | Poor |
| Automotive Wiring | Poor | Great |
Your project type is the single most important factor. Make sure to choose the tool that fits your typical daily tasks.
- Buy Product 1 if you: need a lightweight tool for small circuit boards, have a tight budget, and only do occasional light repairs.
- Buy Product 2 if you: need instant heat, work with thick wires, do automotive wiring, and do not mind a heavy tool.
- Consider Neither if you: need exact temperature control, work on modern surface-mount devices (SMD), or want a digital display.
Long-Term Ownership Considerations
Owning a tool long-term means looking at maintenance, safety, and wear. Let us look at what to expect over months of regular use.
Product 1 will require replacement tips eventually due to wear. Since it lacks tip compatibility with major brands, finding the exact replacement can be tricky. You will also spend more time re-tinning the tip to keep it from turning black.
Product 2 uses simple copper wire loops for tips, which are cheap and easy to buy. The heavy transformer has no moving parts, so it rarely fails. It is highly reliable, though the high energy draw can trip sensitive bench breakers if used constantly.
Power Output and Efficiency: Soldering Iron vs Soldering Gun
Power output determines how fast you can work on different materials. Let us break down how wattage affects your bench efficiency.
Product 1 has a low wattage of 40W, which means it heats up slowly and struggles with large joints. However, its energy use is very low, making it efficient for long, slow sessions where the iron sits idle in its stand.
Product 2 draws a massive 150W of power, but only when the trigger is pulled. This makes it highly efficient because it does not waste energy when you are prepping your wires. The high power makes short work of heavy copper joints that would freeze a smaller iron.
FAQs About Soldering Iron vs Soldering Gun
What is the main difference between a soldering iron and a soldering gun?
A soldering iron is generally smaller and designed for controlled, precise soldering, while a soldering gun is larger and typically delivers higher power for heavier soldering work.
Is a soldering iron better than a soldering gun for electronics?
For most electronics work, a soldering iron is usually more suitable because its smaller tip and more controlled heat make it easier to work with delicate components and circuit boards.
When should you use a soldering gun?
A soldering gun can be useful for larger wires, heavier electrical connections, and tasks that require more heat than a typical small soldering iron provides.
Does a soldering gun heat up faster than a soldering iron?
Many soldering guns are designed to reach working temperature quickly because of their higher power output, although actual heating speed varies by model and design.
Can you use a soldering gun on circuit boards?
A soldering gun can be used for some circuit-board work, but its higher heat output and larger tip can make it less suitable for delicate components. A properly controlled soldering iron is generally easier to manage.
Which is easier for beginners, a soldering iron or soldering gun?
A soldering iron is usually easier for beginners because its slimmer design and more precise tip provide better control for common soldering tasks.
Final Verdict
In the battle of Soldering Iron vs Soldering Gun, there is no single winner. Product 1 is the best budget pick for beginners working on small electronic kits and light crafts. Its light weight and pen grip make it easy to handle for precise joints.
Product 2 is the clear champion for heavy-duty wiring and rapid repairs. Its instant heat and high wattage save time on tough projects. Pick the tool that matches your bench projects, and you will get great results every time.

Scott Yarnell is a tool expert focused on practical guides, product research, and real-world tool performance to help readers make informed decisions.